| This article is about Bonus Evidence locations on the surface of Redacre. For locations in The Maze, see Bonus Evidence/Maze Locations. |
The list of known Bonus Evidence locations on the surface of Redacre. This list sorts by location, denotes the type of evidence, and describes the likelihood of finding the specific item during a mission. Click on an image to open a larger view of the location.
The frequency can be three possible values:
- Common - the Bonus Evidence item shows up most of the time and can be found almost every other mission.
- Occasional - the Bonus Evidence item can be found once every few missions. You may go several missions without seeing it.
- Rare - the Bonus Evidence item may spawn only once in a dozen or more missions.
For a list of item types, see Types of Bonus Evidence.
The frequency will often depend on the host's level. If the frequency changes drastically with varying host levels, it will be noted for low level and high level. If a piece of evidence only spawns at low levels or particularly when the host is Level 1, that will also be noted. A host is typically considered high level once they reach Level 7.
Lower East Hoadly[ | ]
Lower East Hoadly - General[ | ]

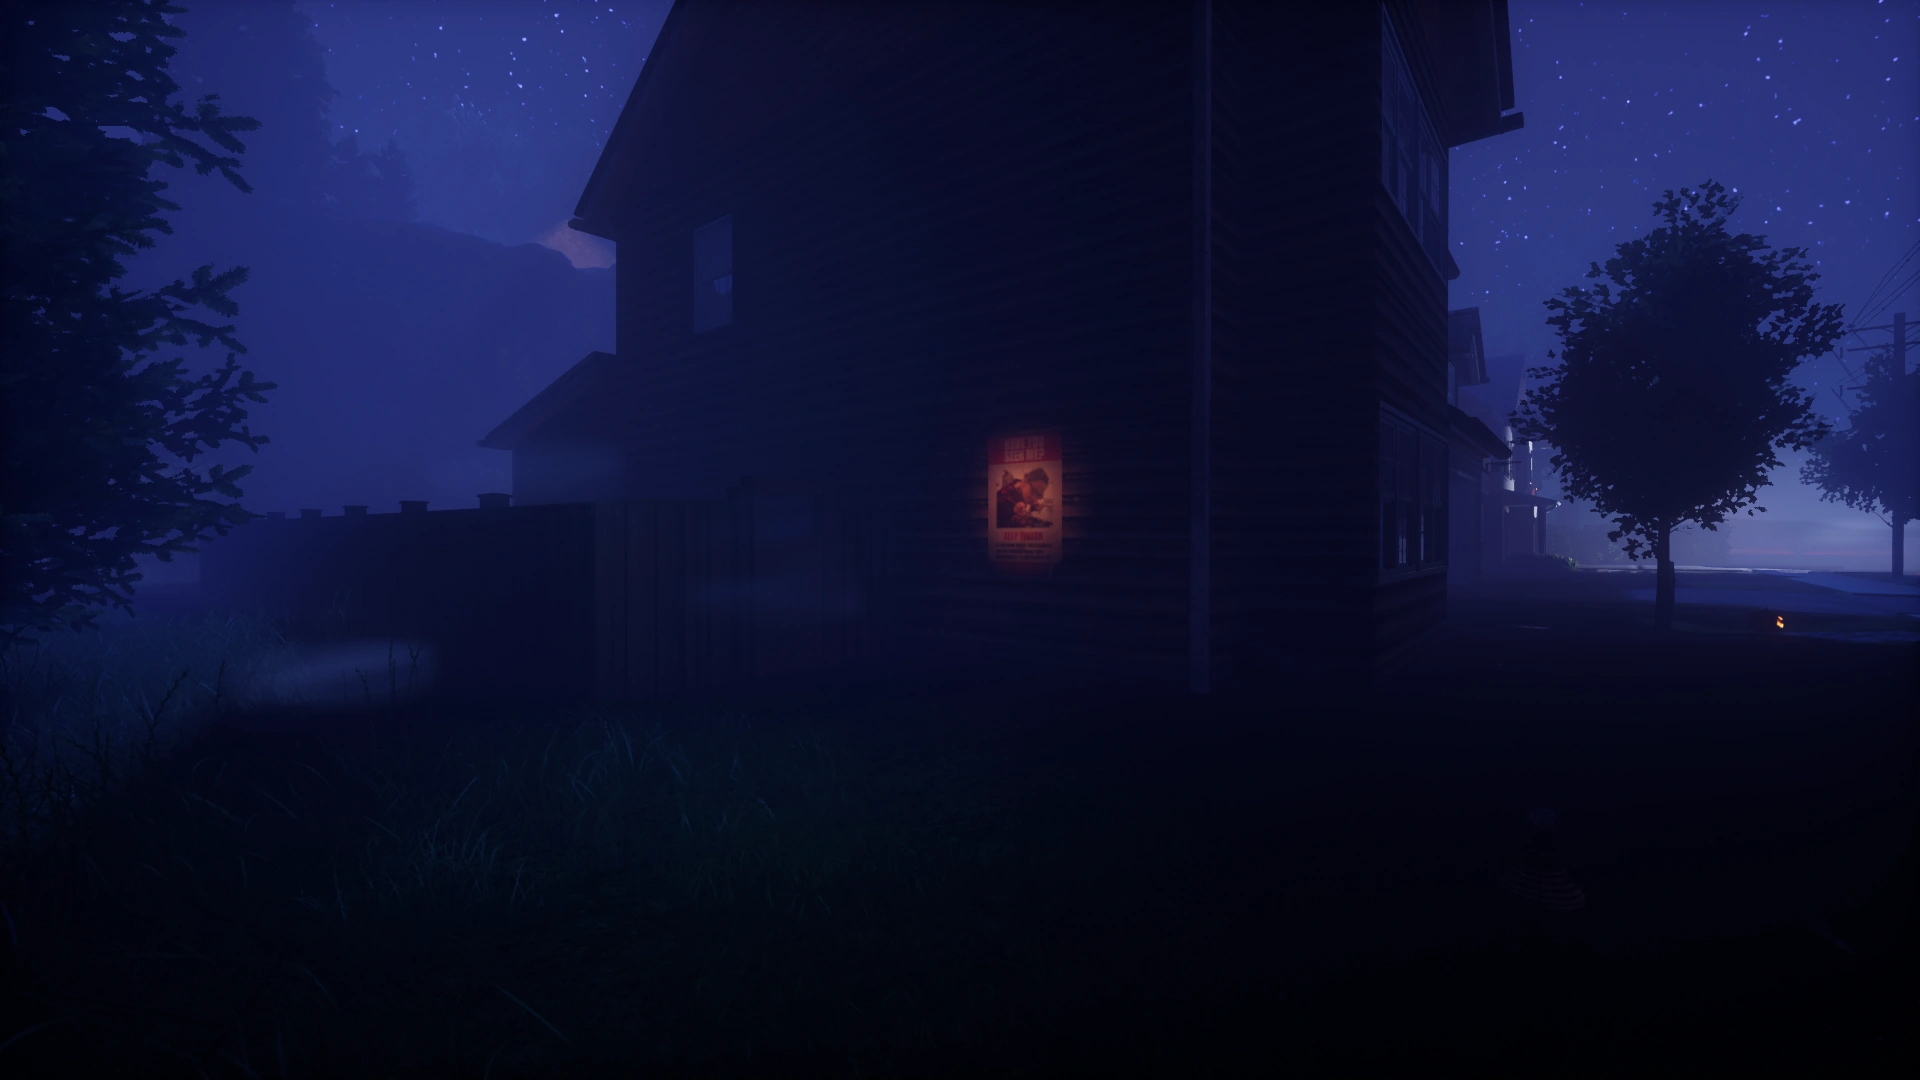
Hoadly's Leap Tree — Poster
(Common)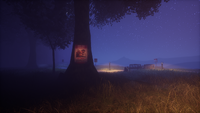
Hoadly's Leap Tree 2 — Poster
(Level 1 Hosts: Common)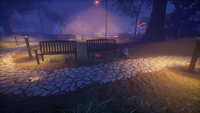
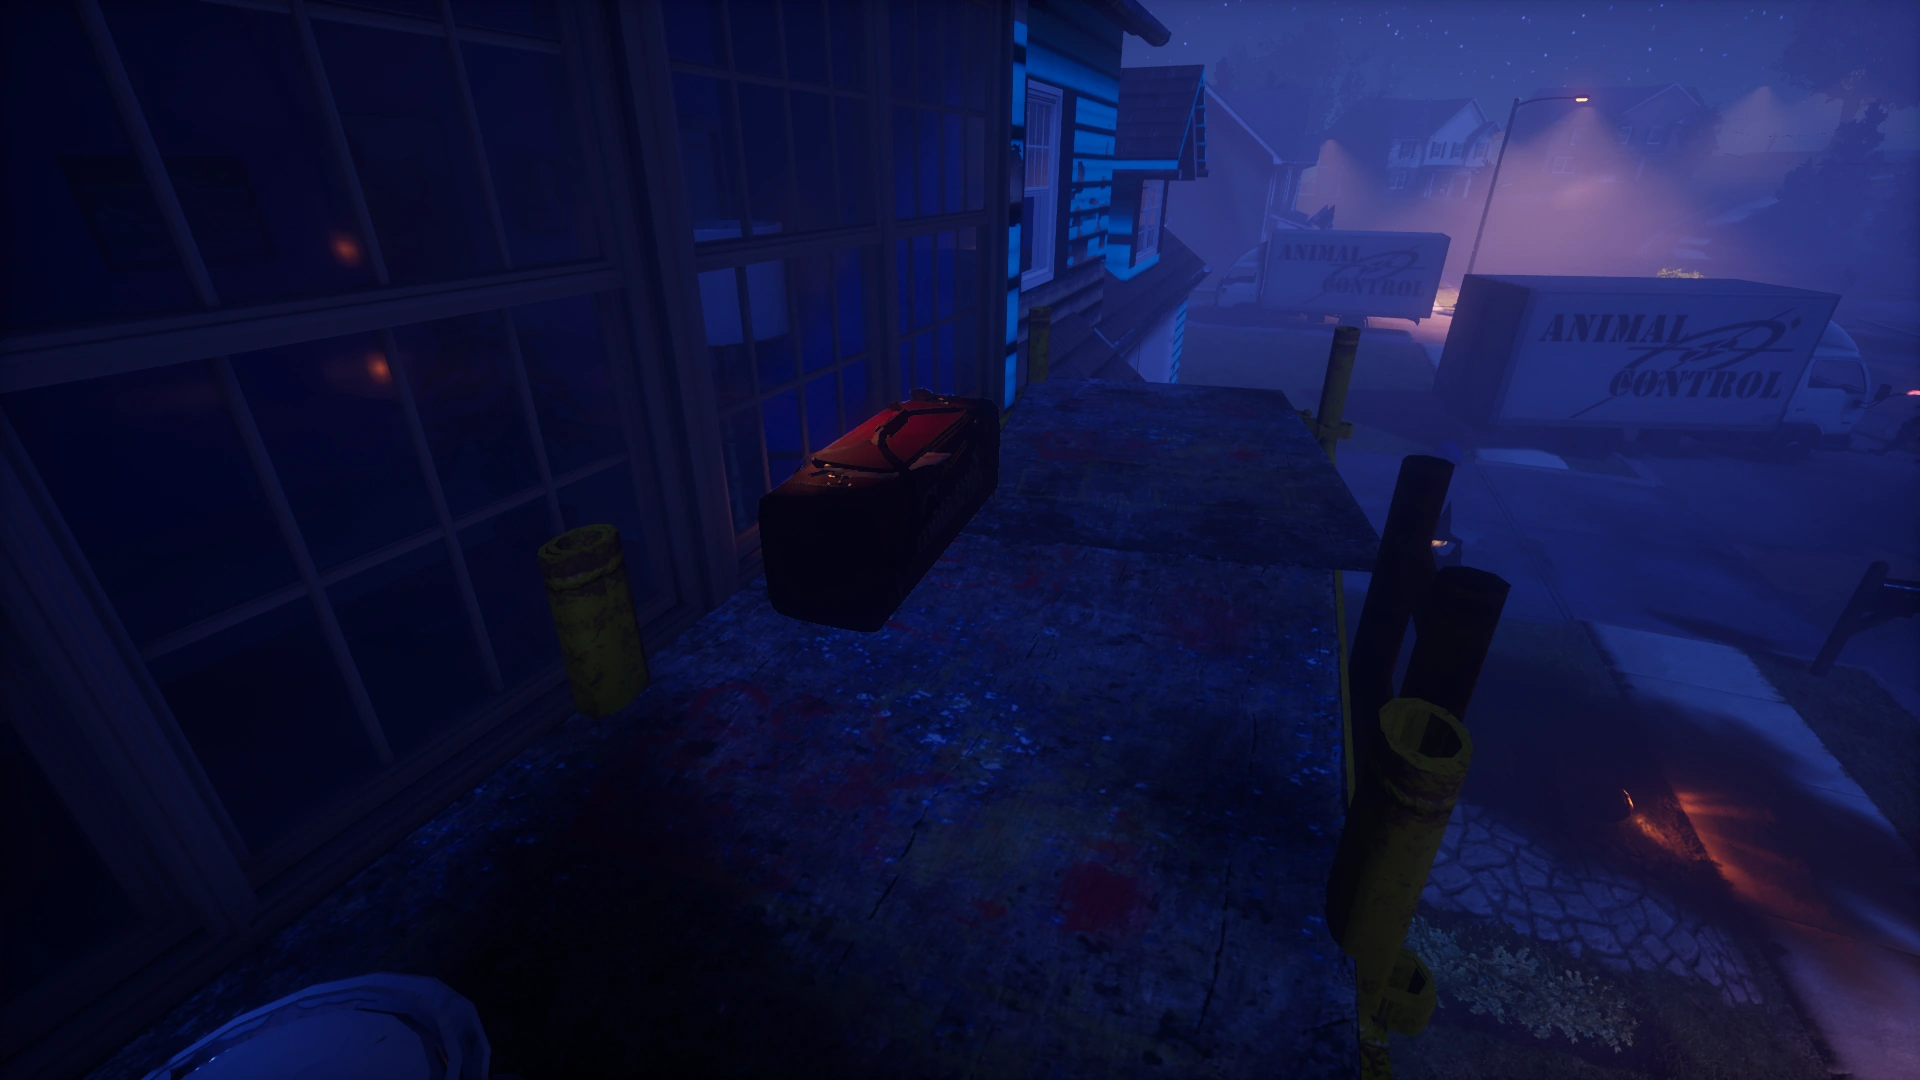
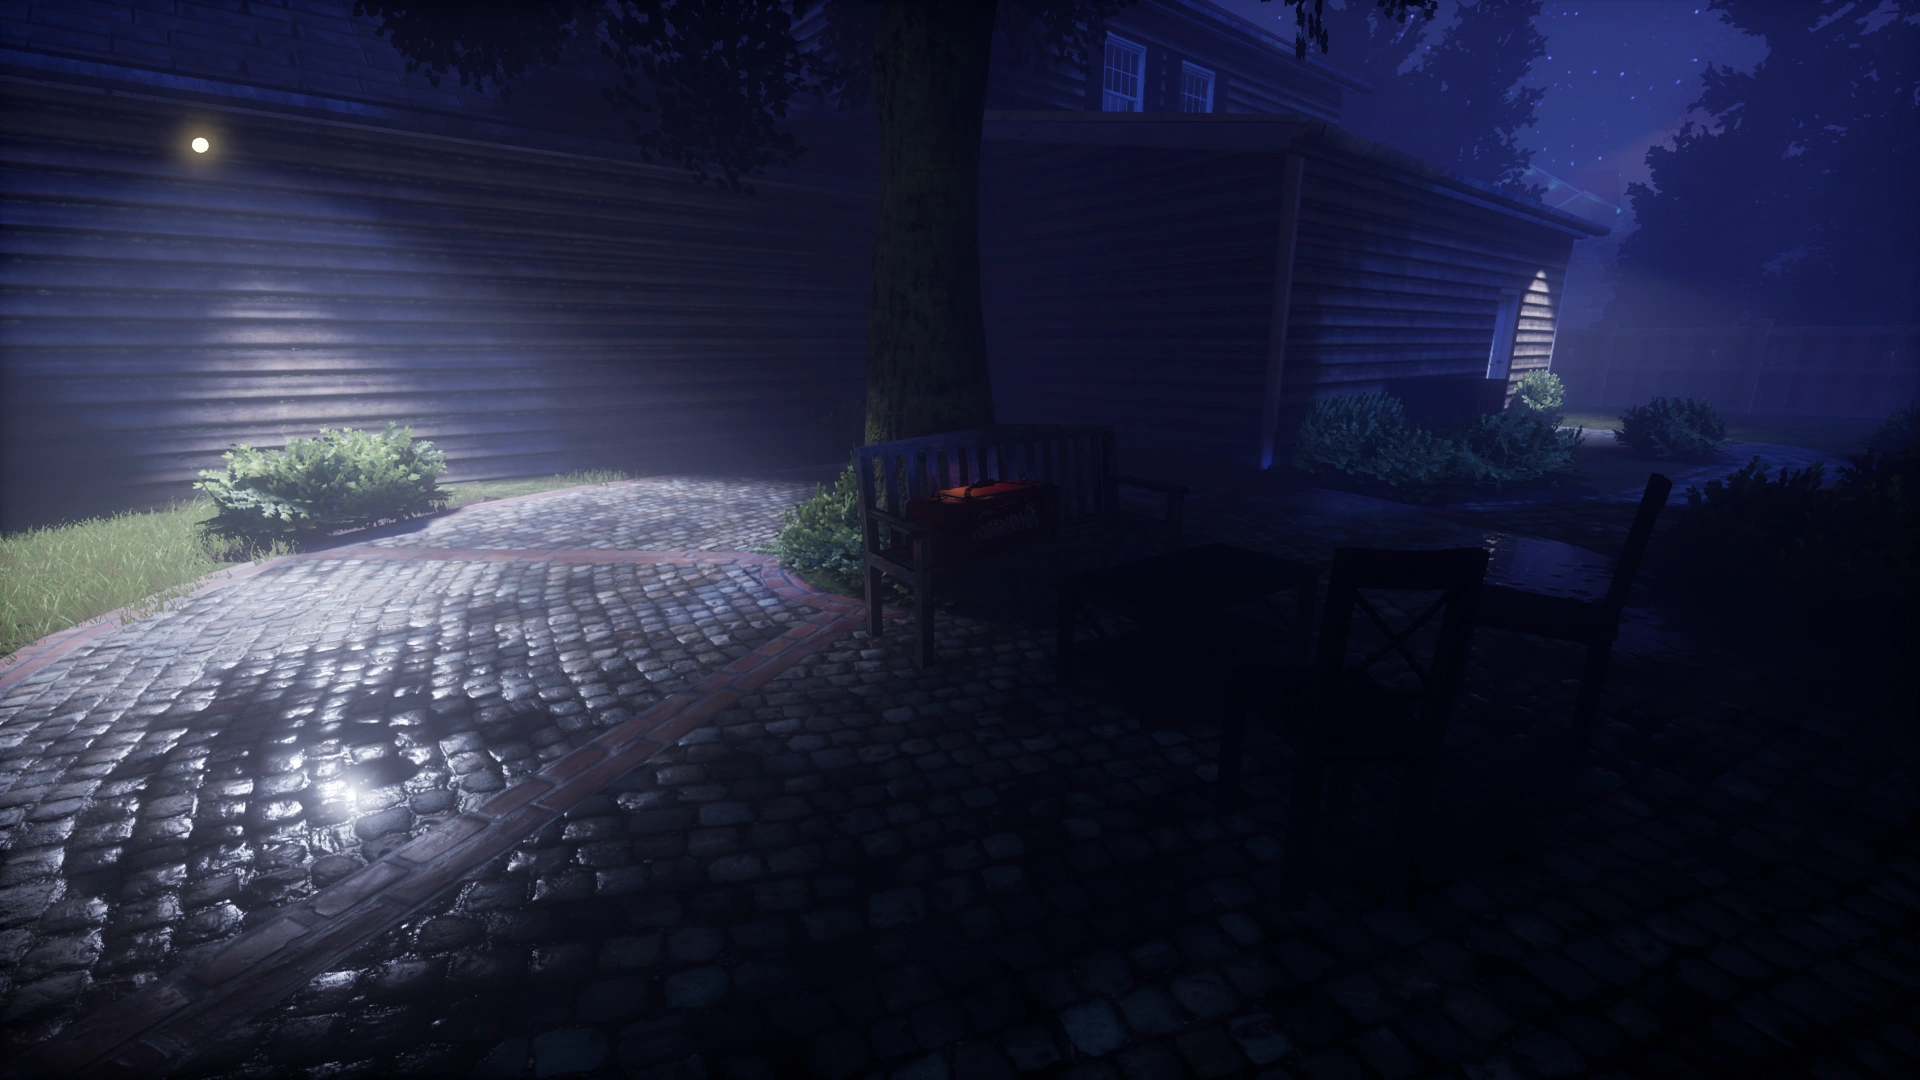
Hoadly's Leap Bench — Briefcase
(Common)
Animal Control Truck — Duffle Bag
(Low Level: Occasional)
(High Level: Rare)Animal Control Truck 2 — Suitcase
(Low Level: Occasional)
(High Level: Rare)Rock Wall (near 922 Hoadly) — Duffle Bag
(Occasional)


918 Hoadly[ | ]
Front Porch — Suitcase
(Rare)Front Porch — Boxes and Tubes
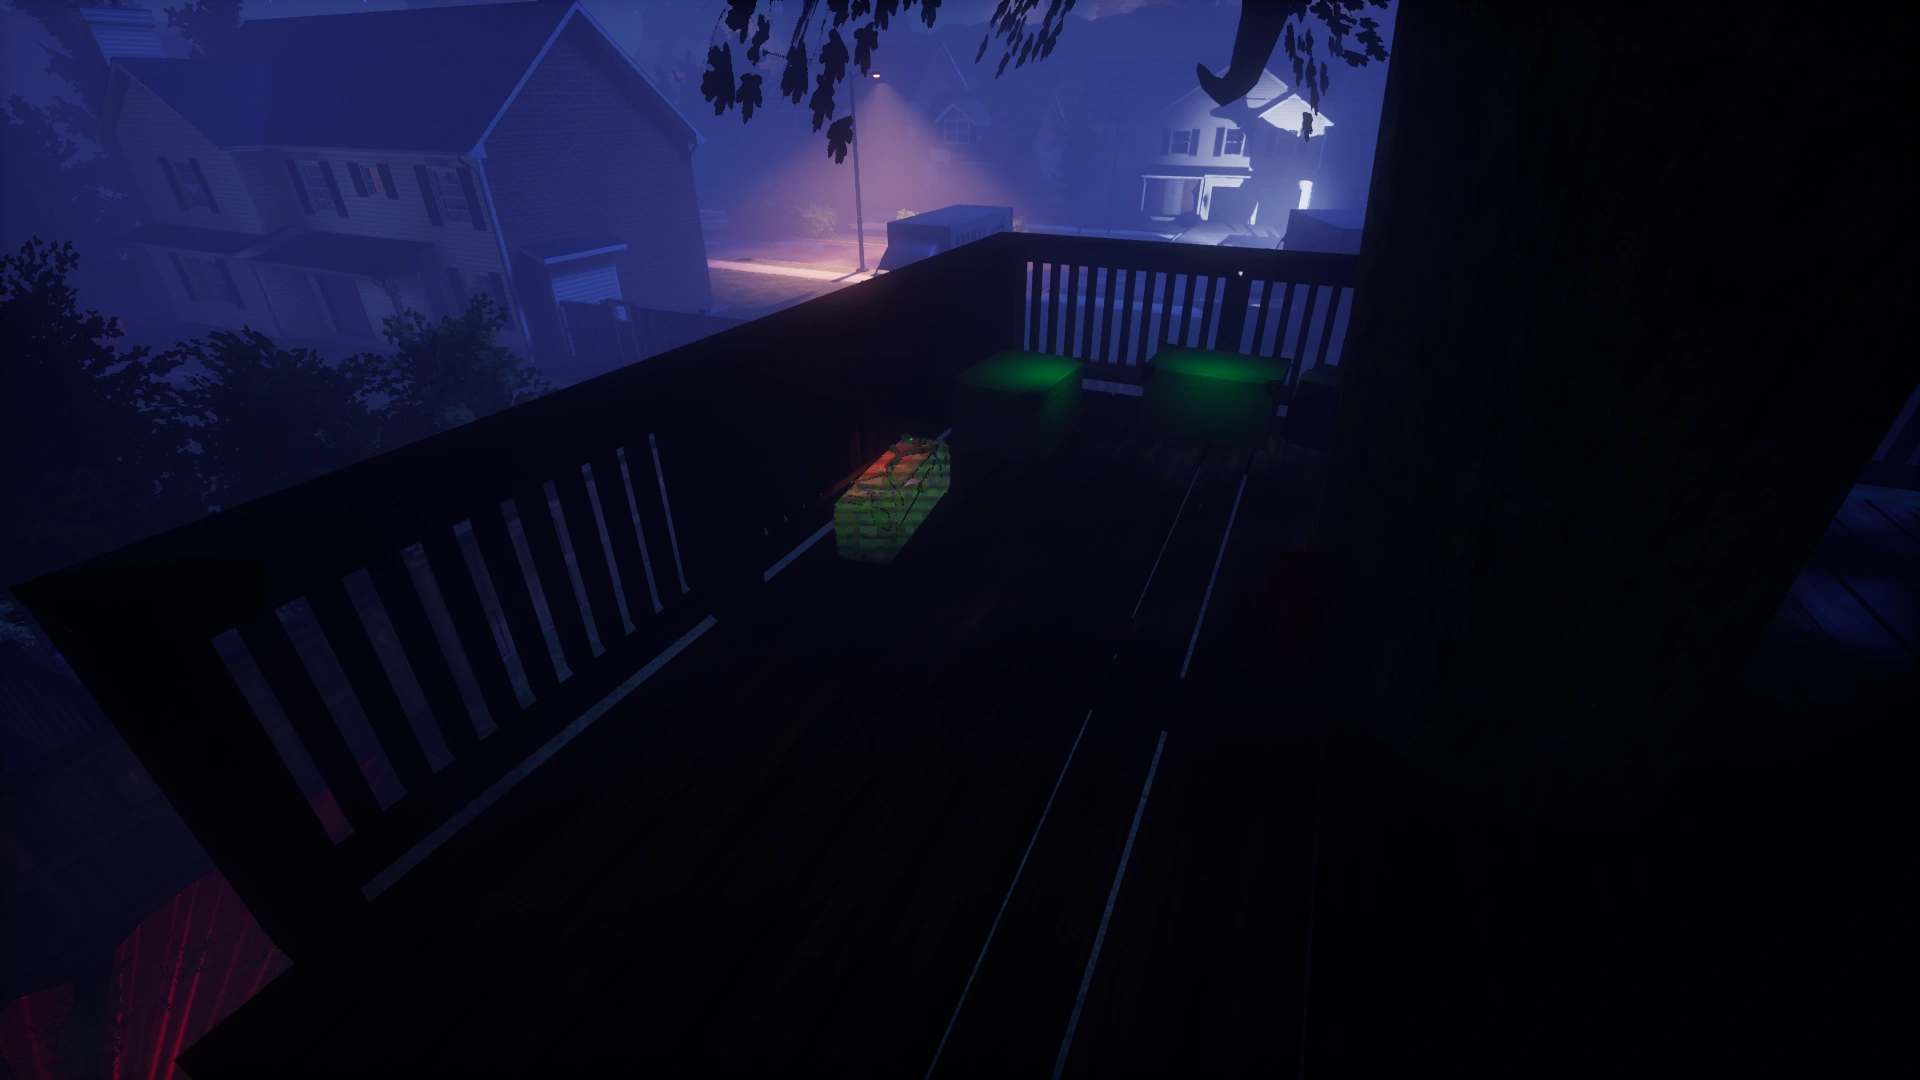
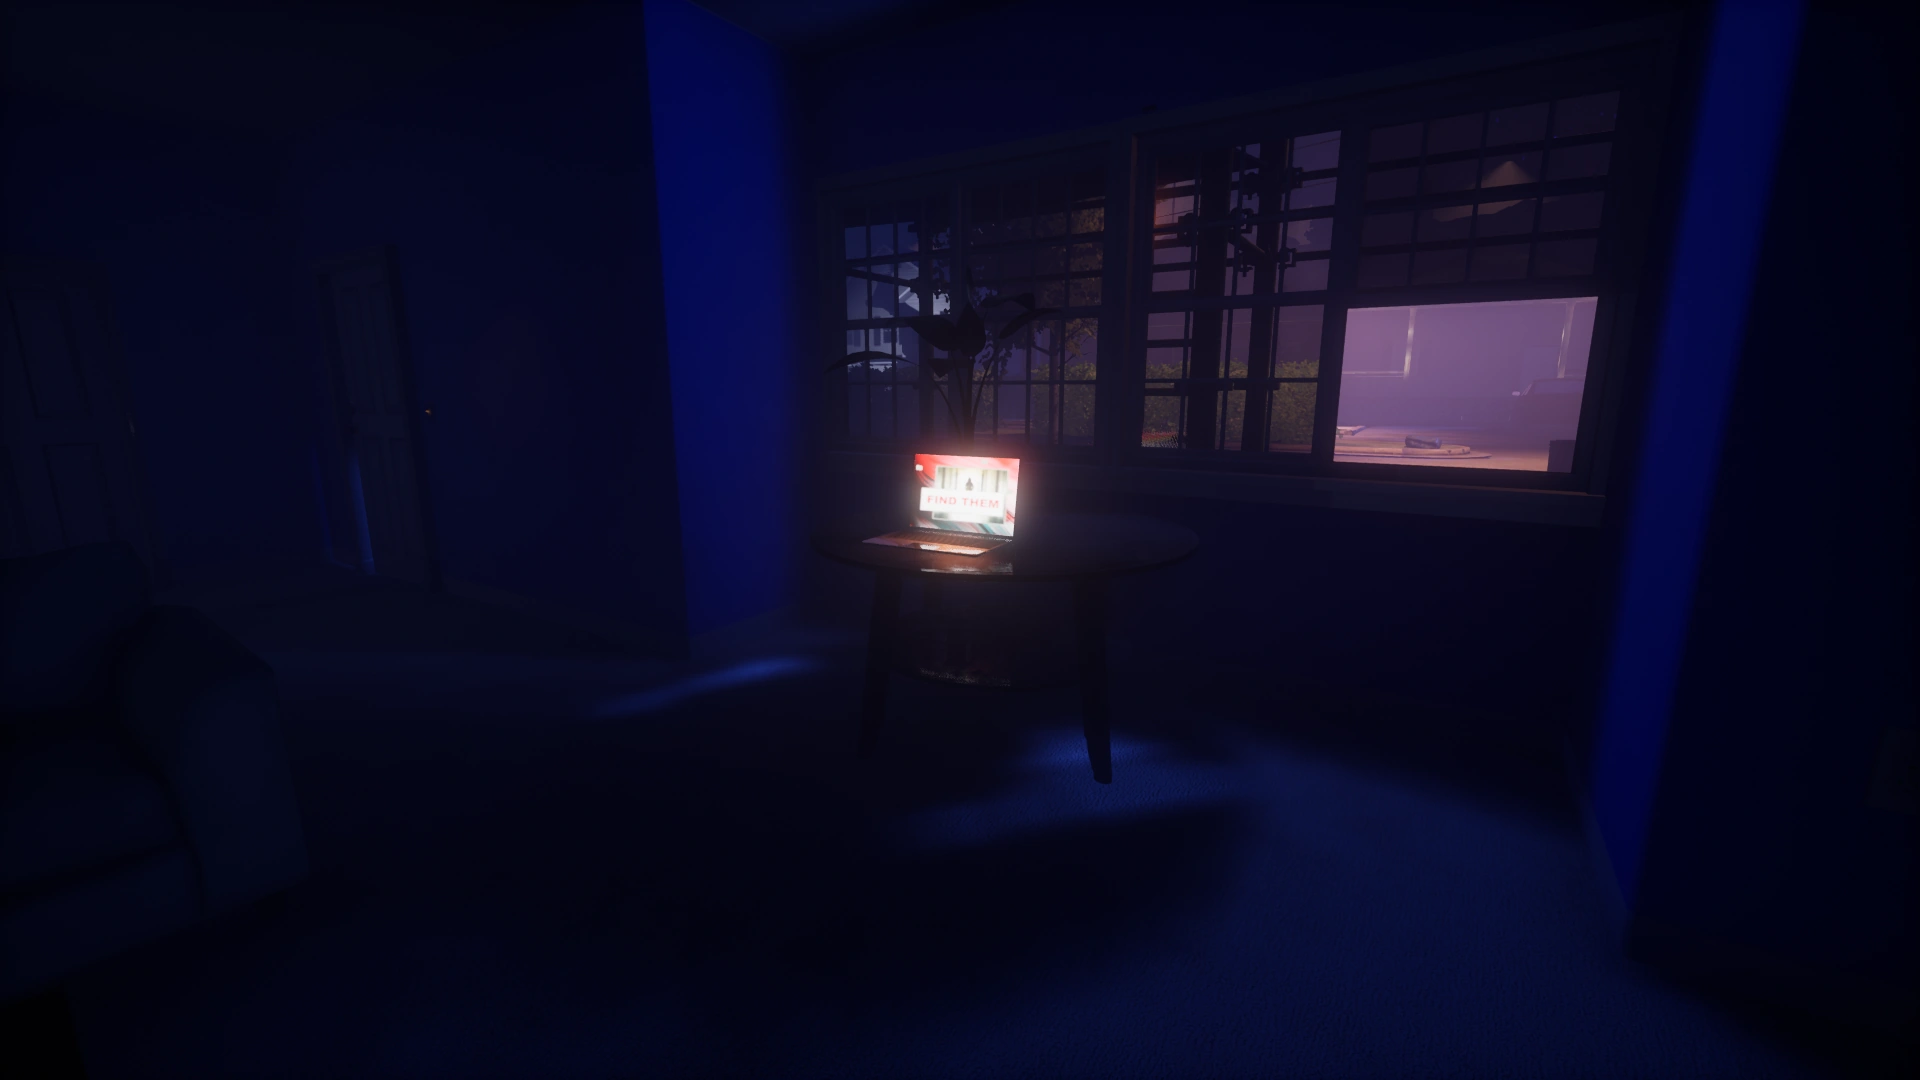
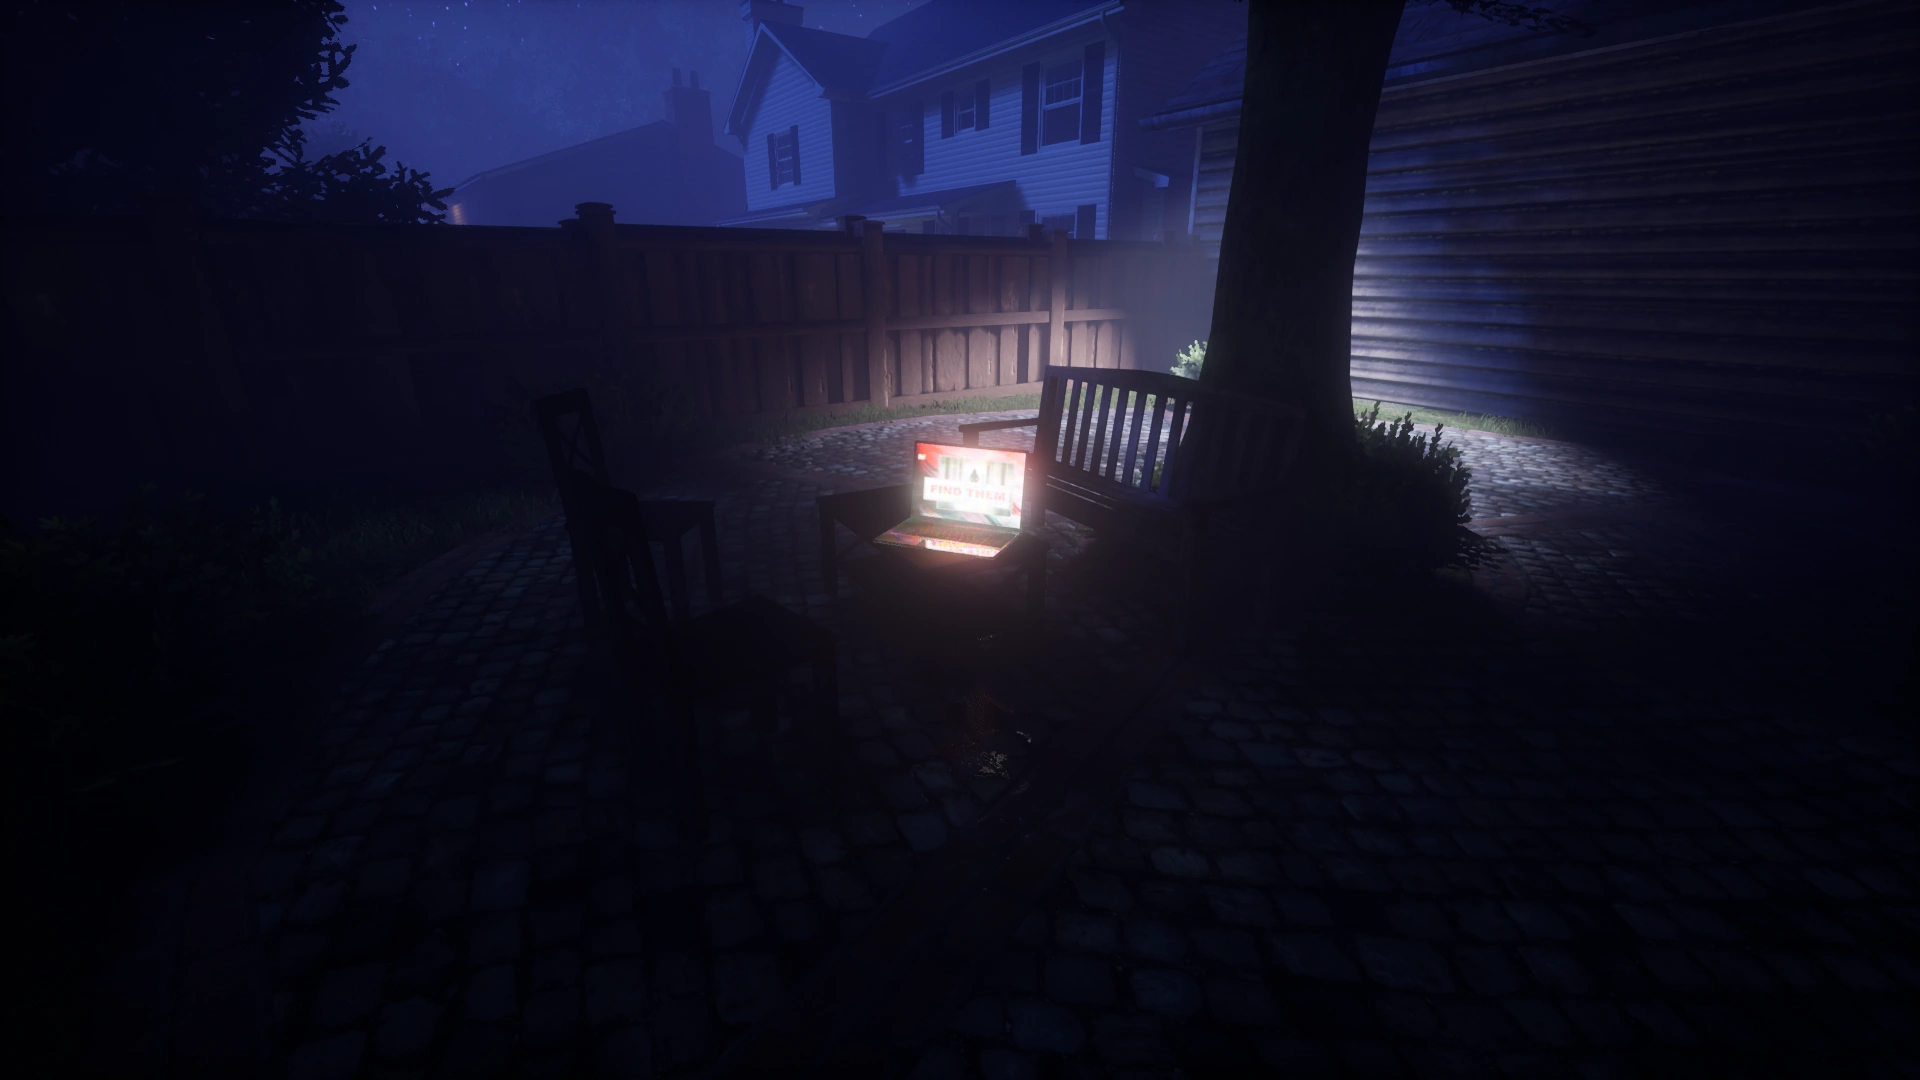
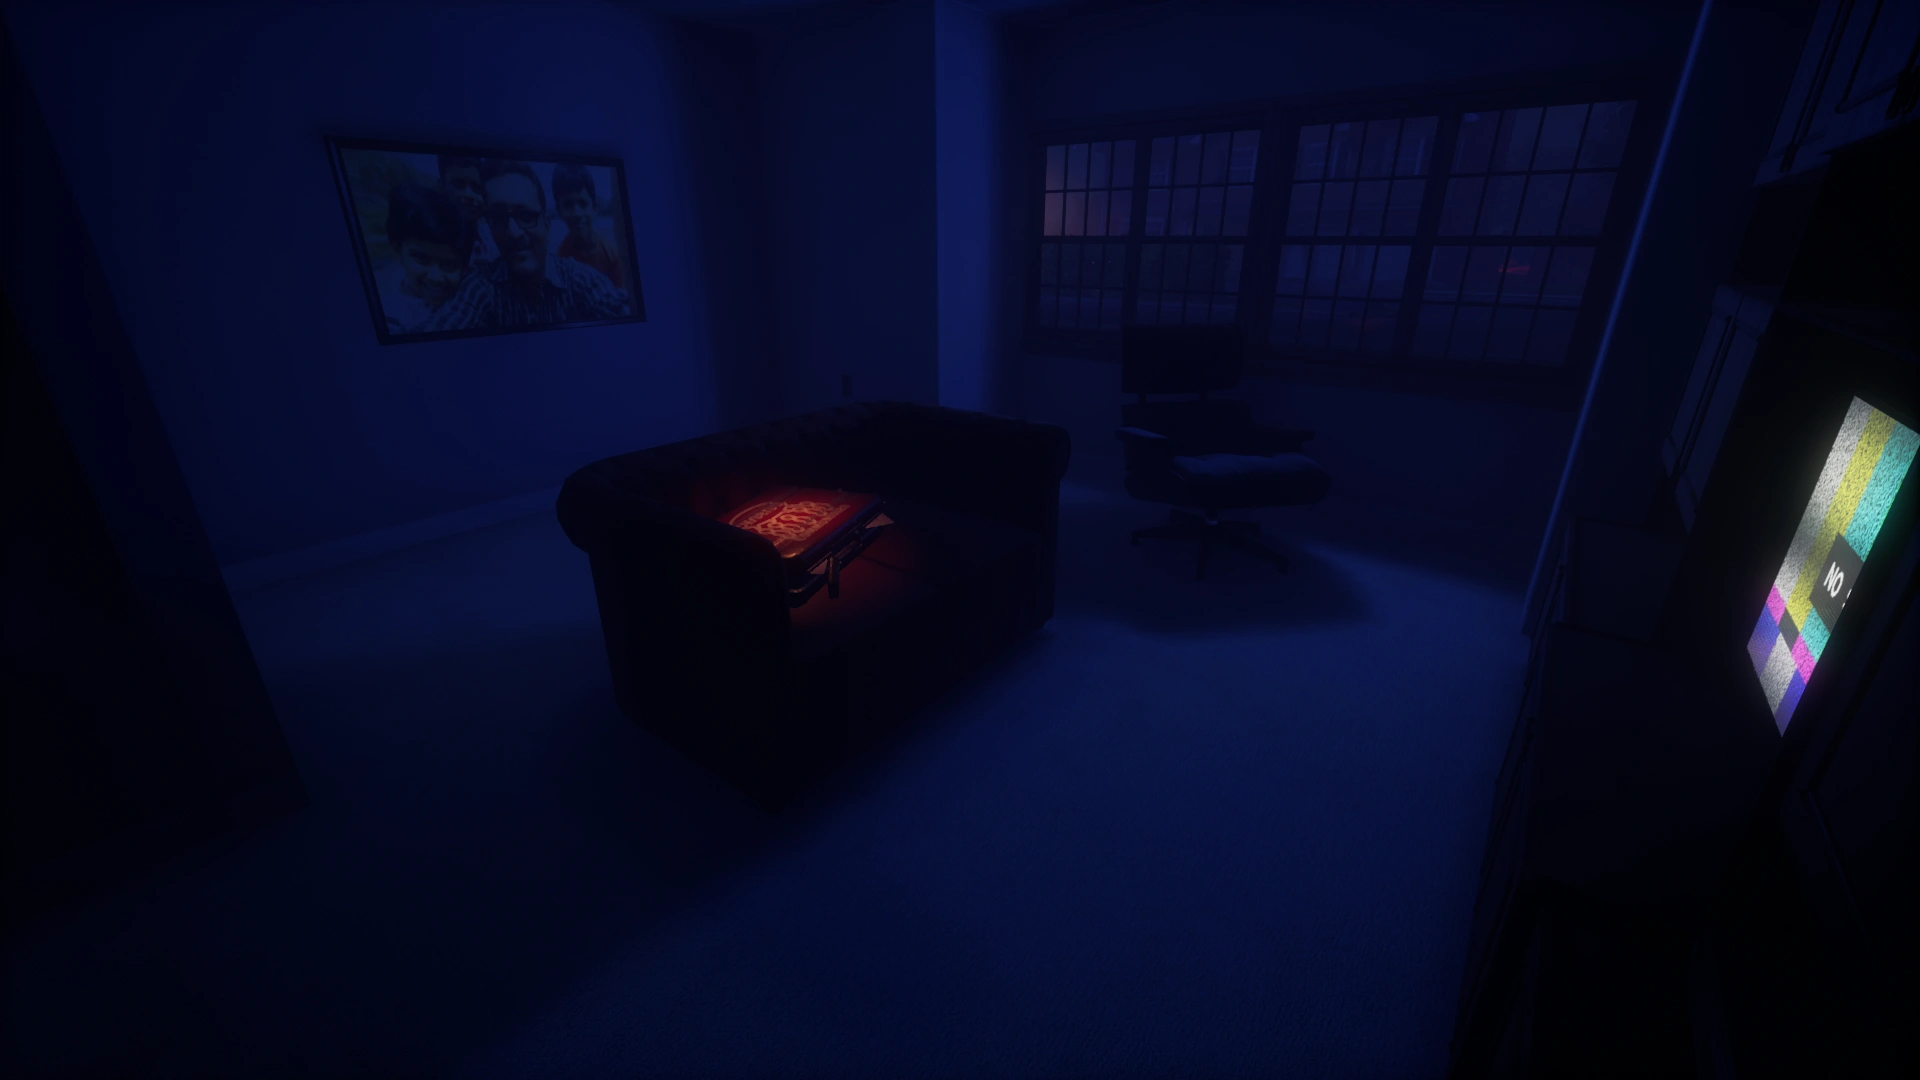
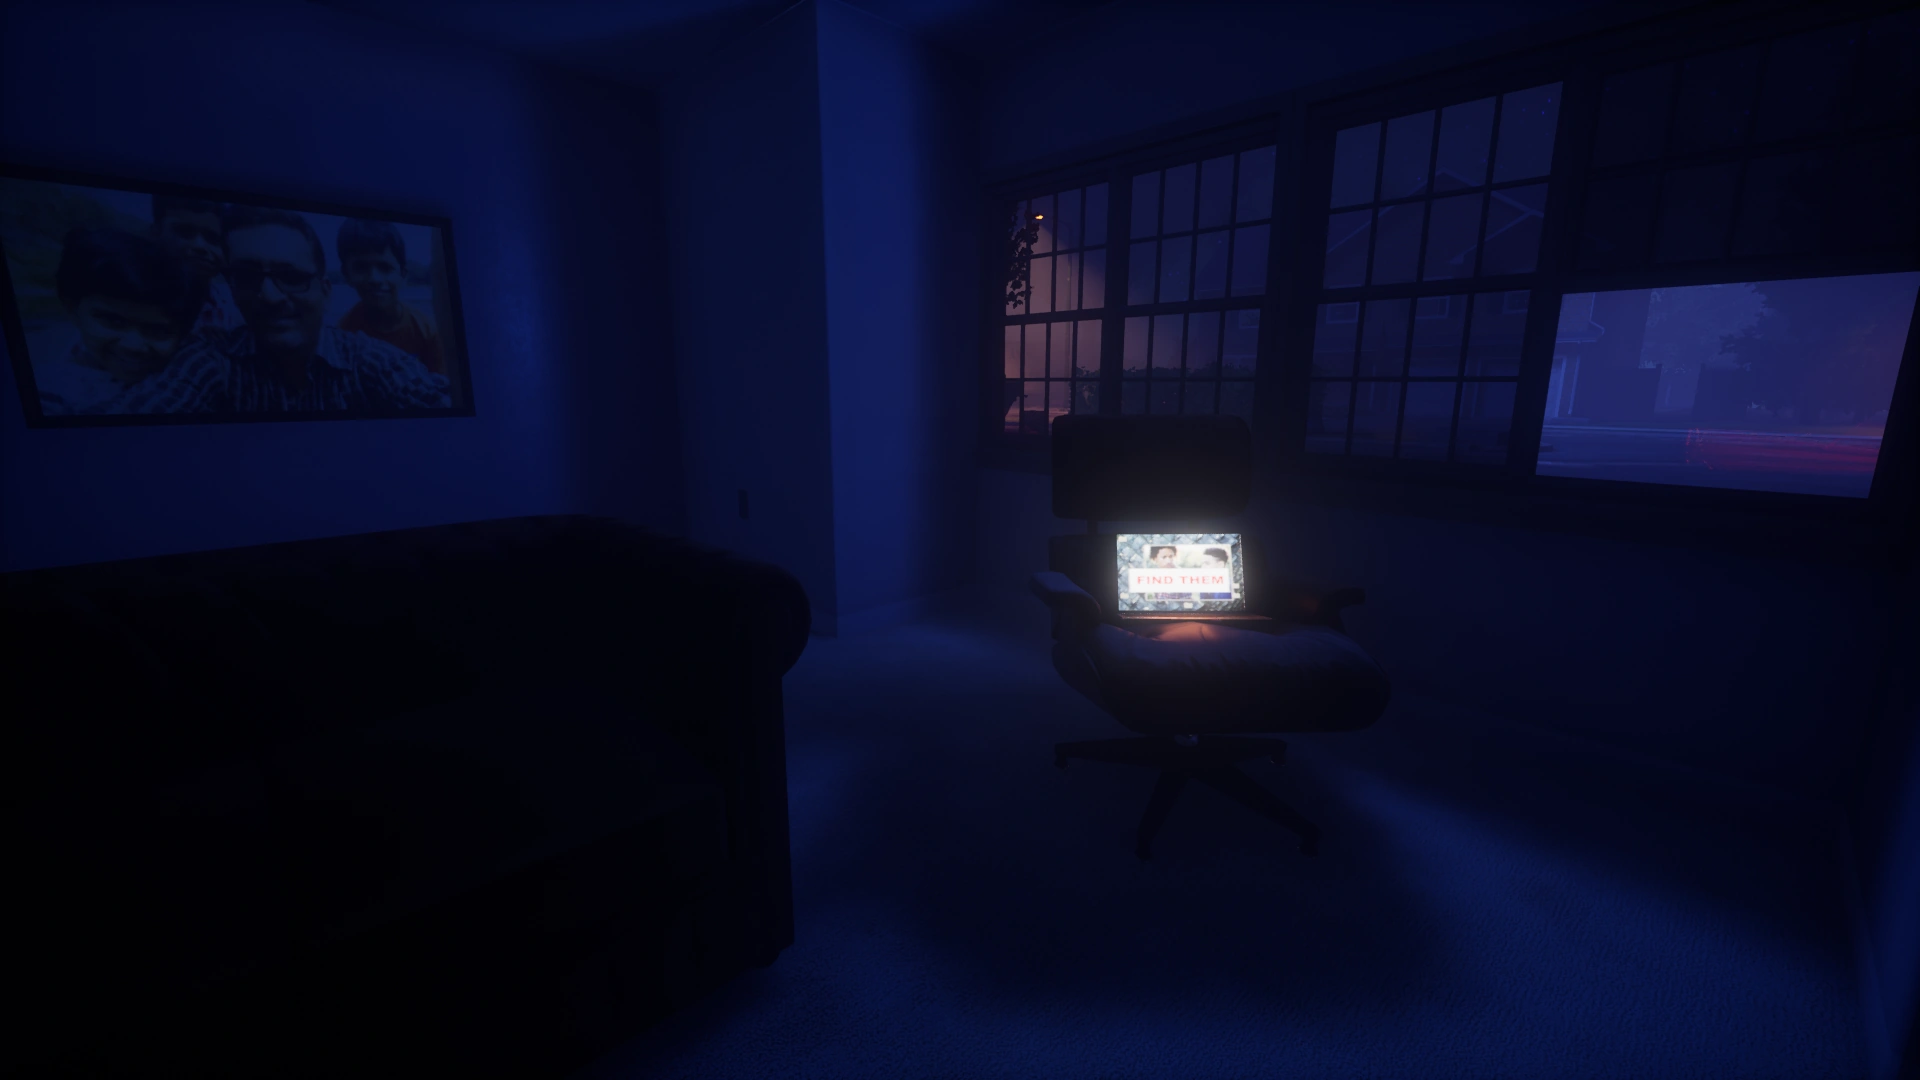
(Rare)Backyard — Laptop
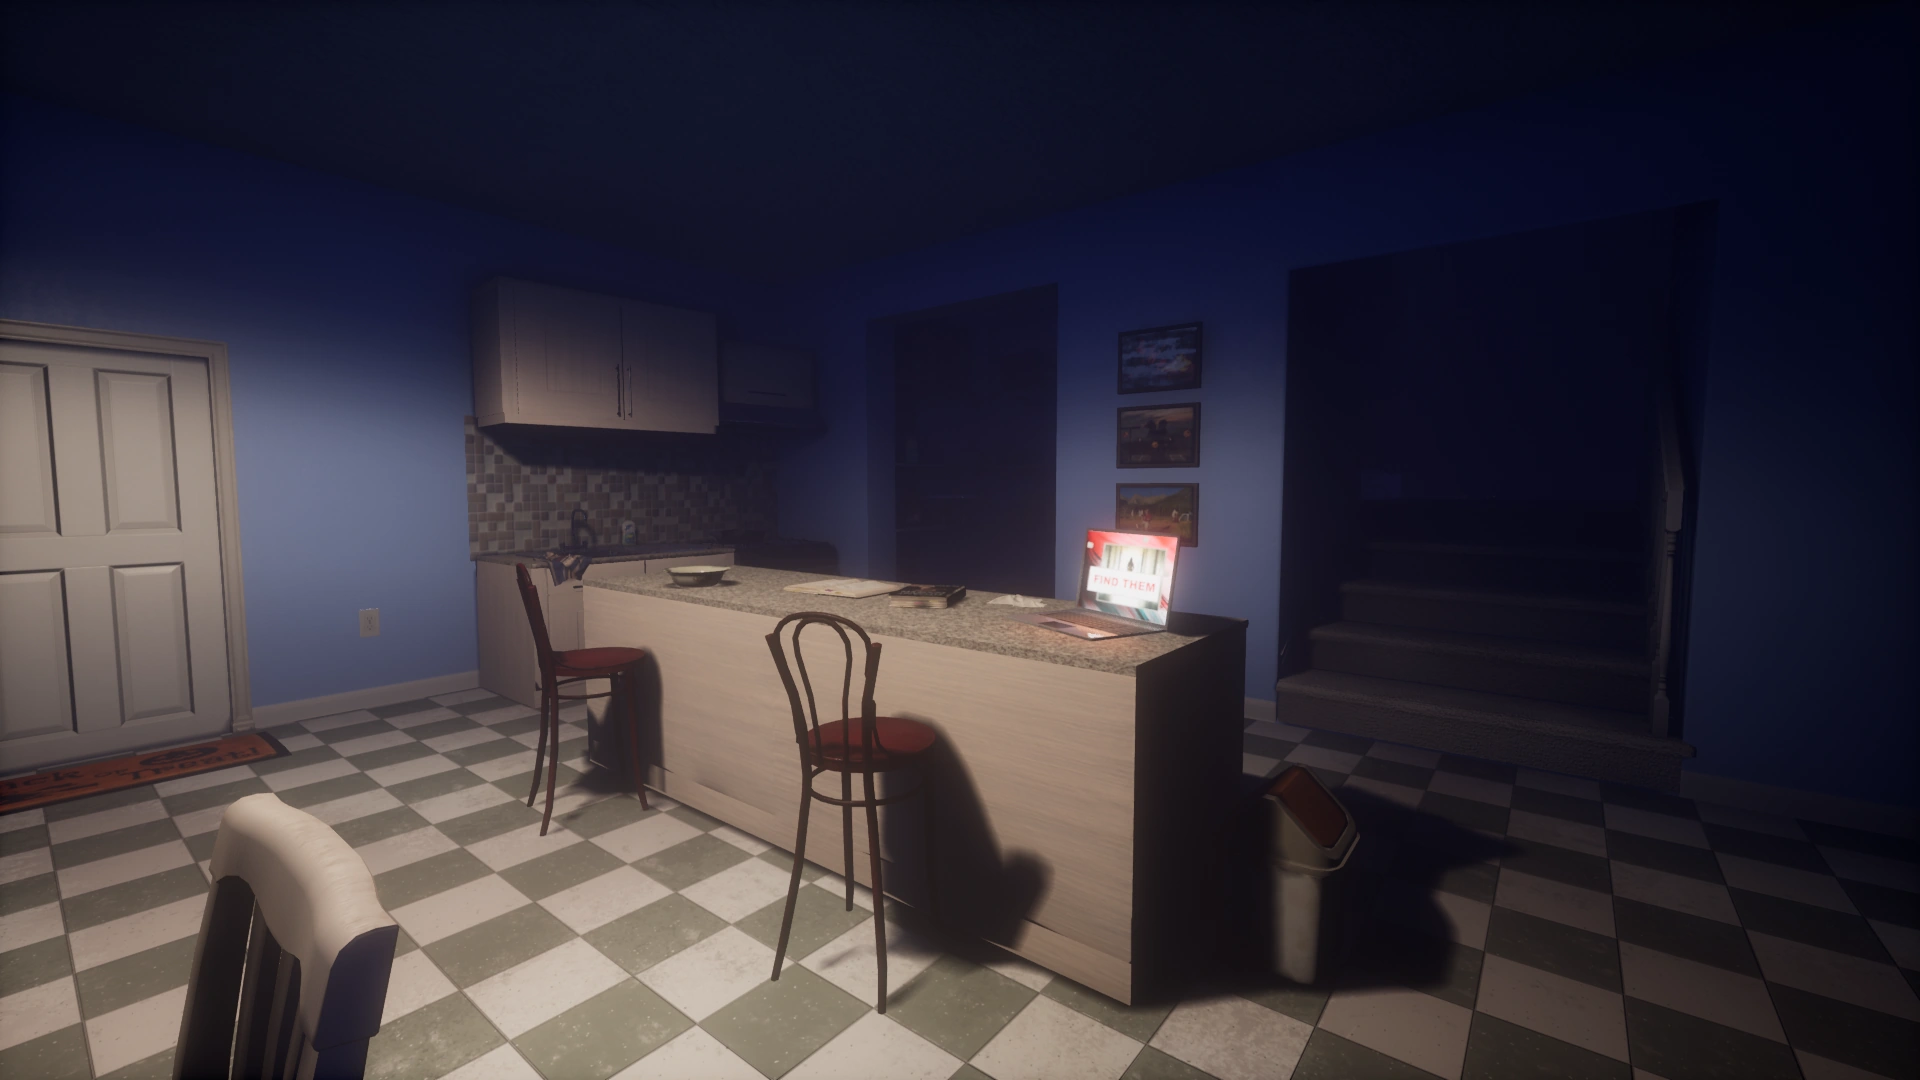
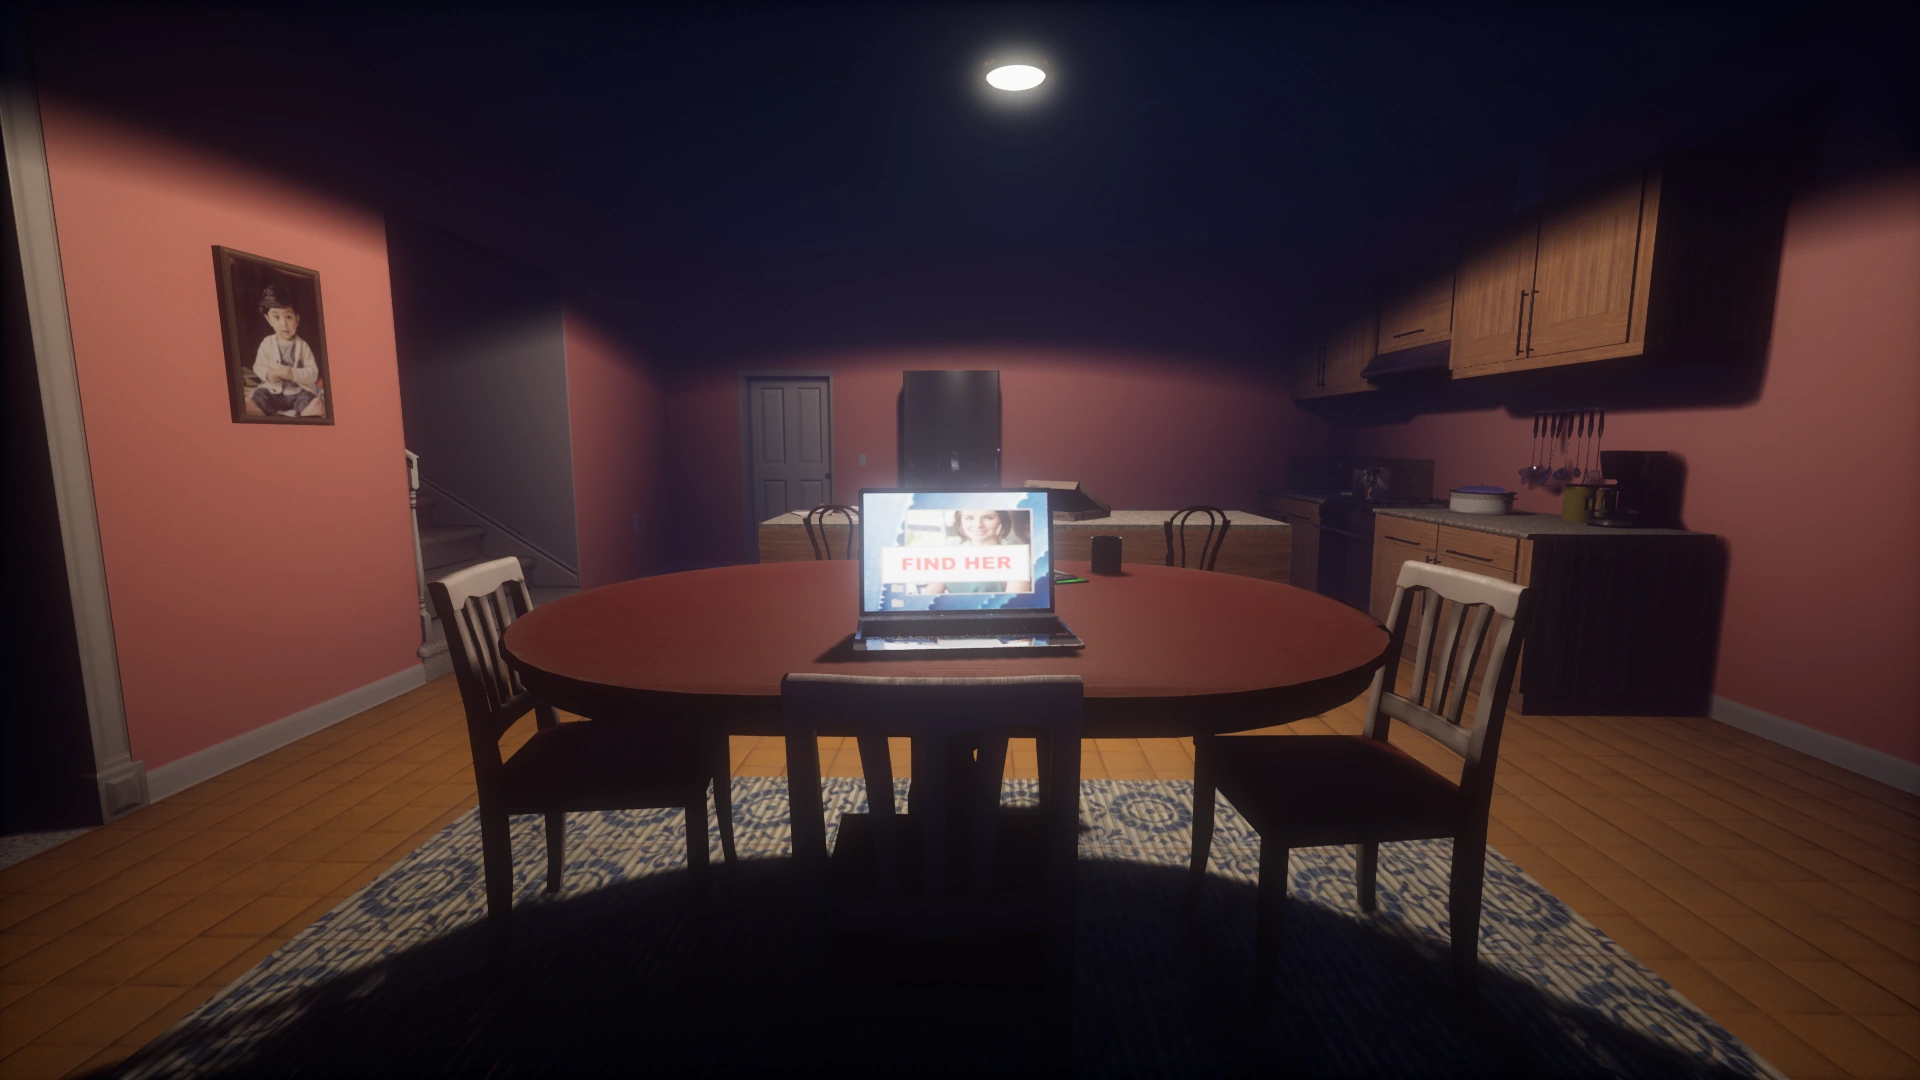
(Occasional)Kitchen — Laptop
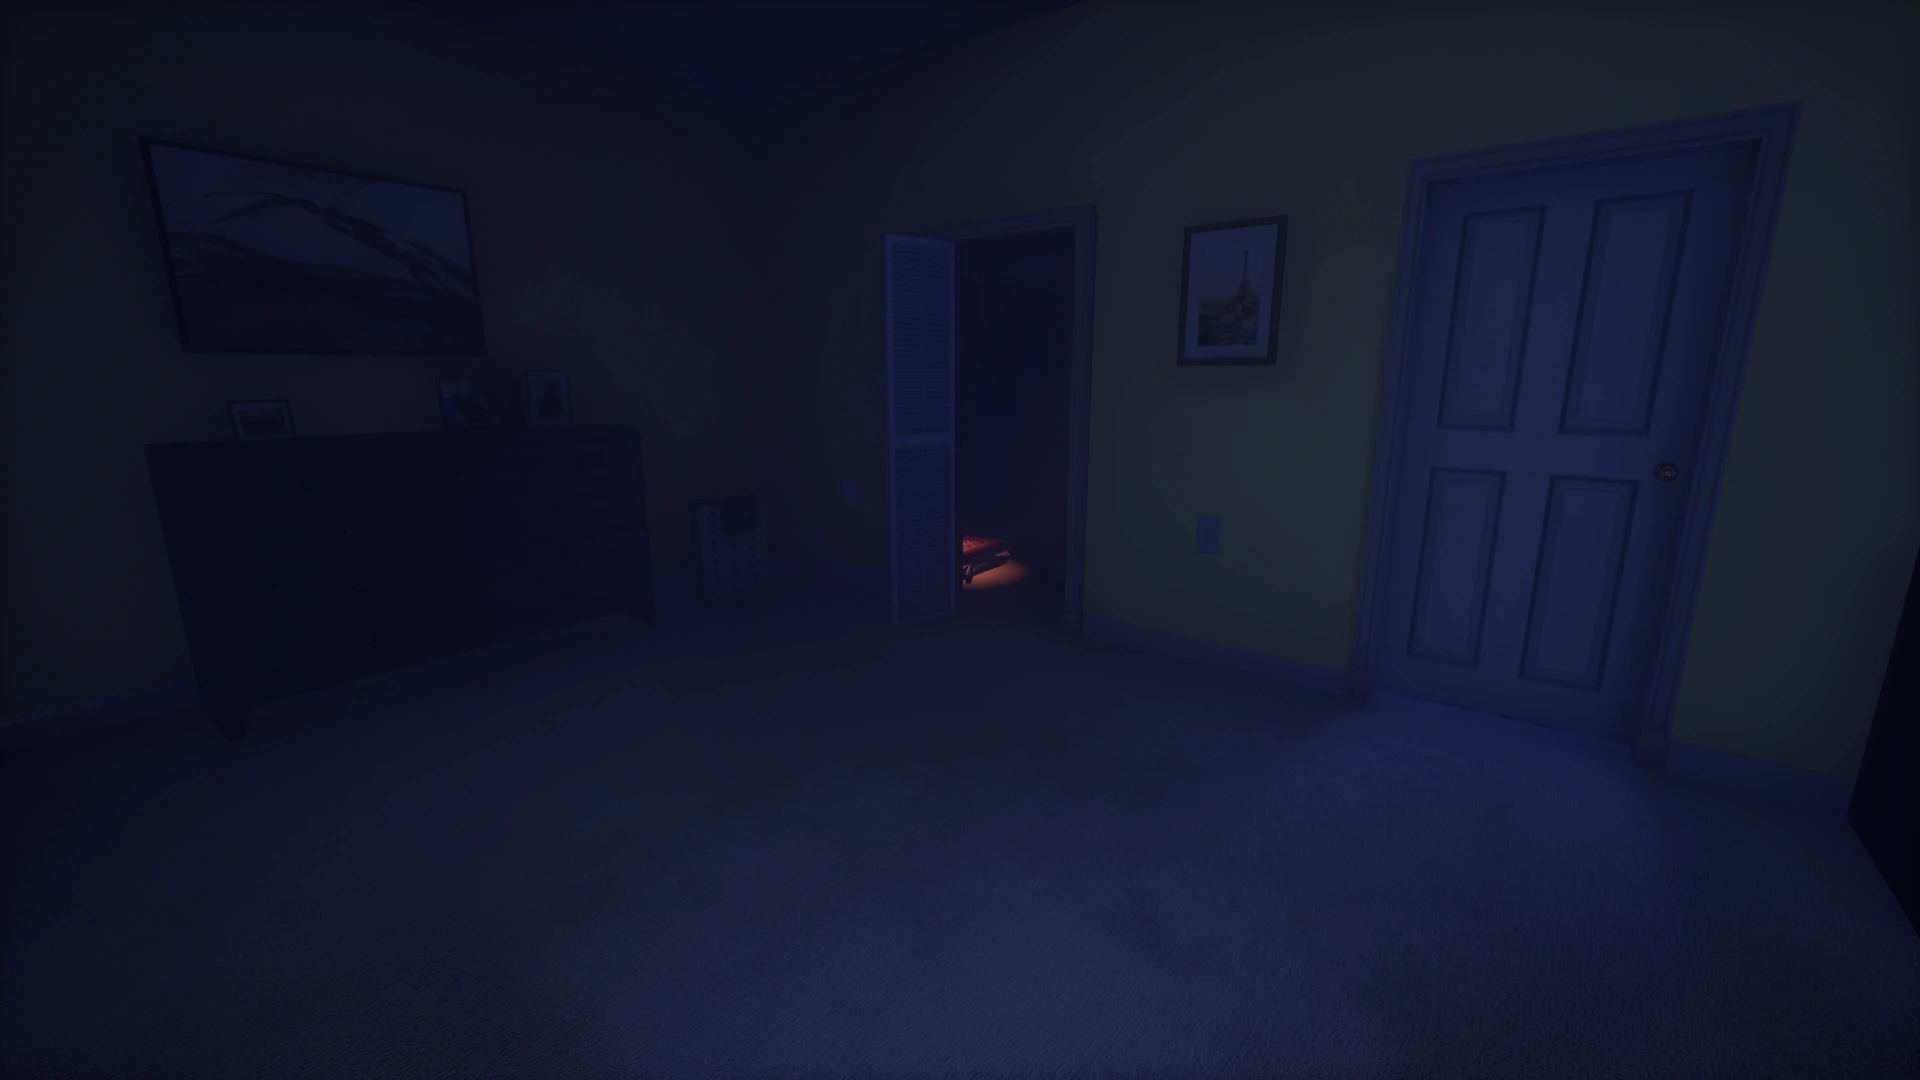
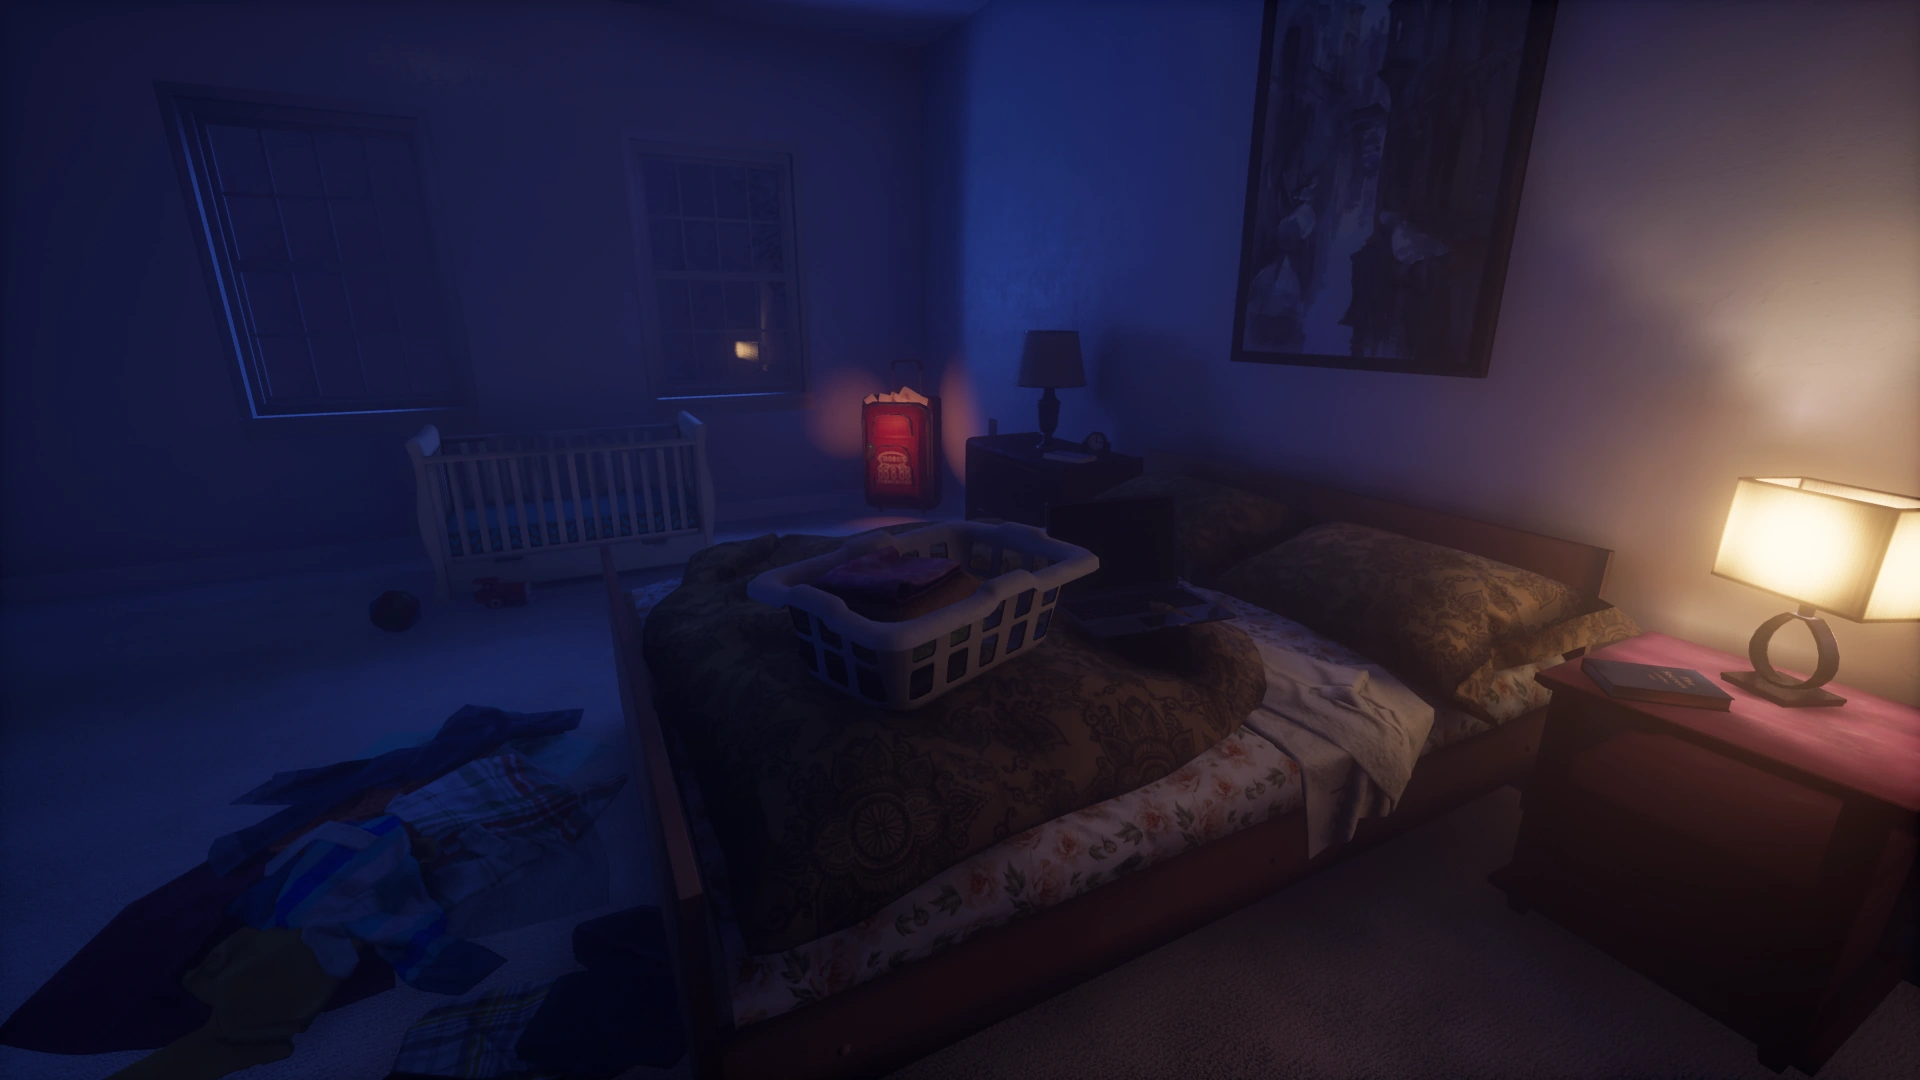
(Occasional)Pink Bedroom — Laptop
(Occasional)Pink Bedroom — Briefcase
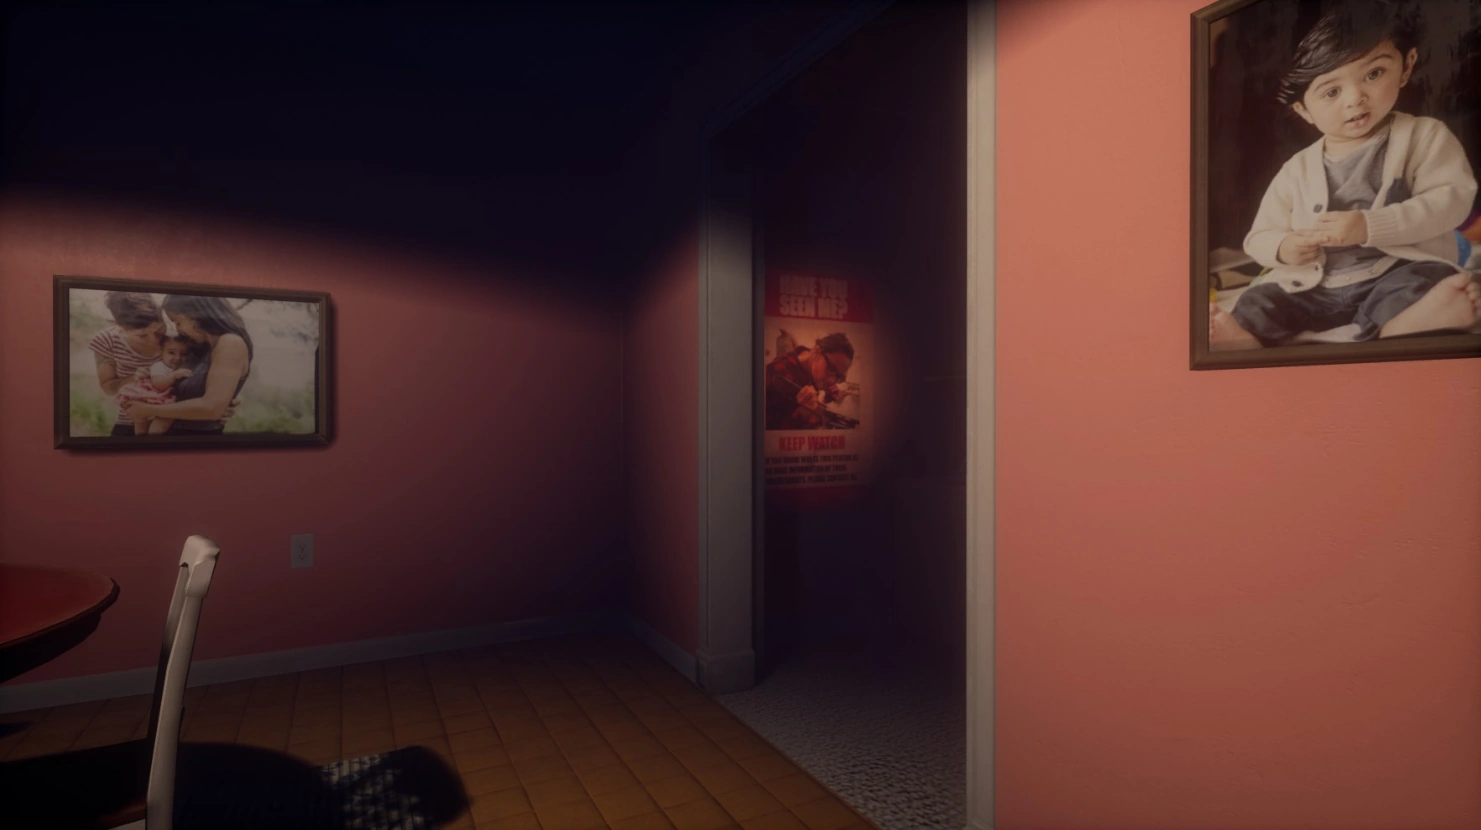
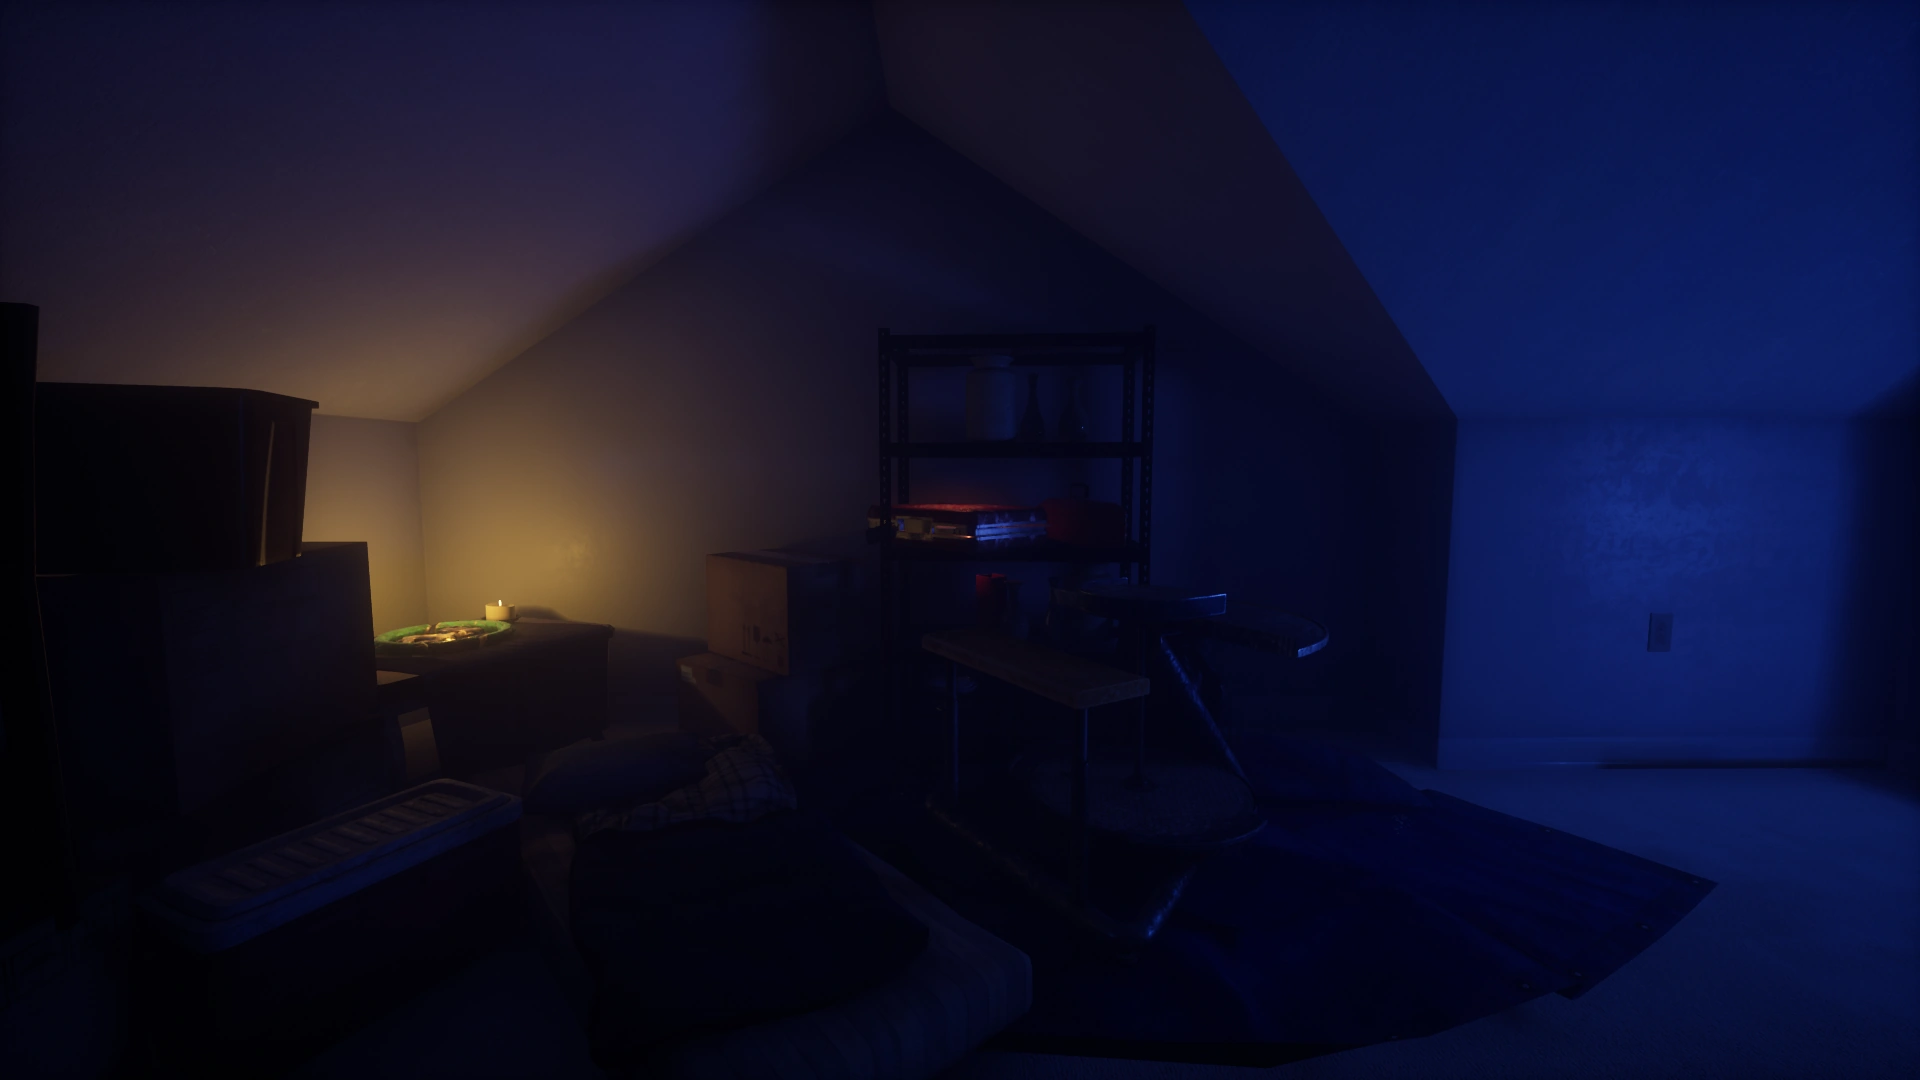
(Rare)Basement — Poster
(Level 1 Hosts: Common)
(Rare)Basement — Briefcase
(Rare)


919 Hoadly[ | ]
Treehouse — Duffle Bag
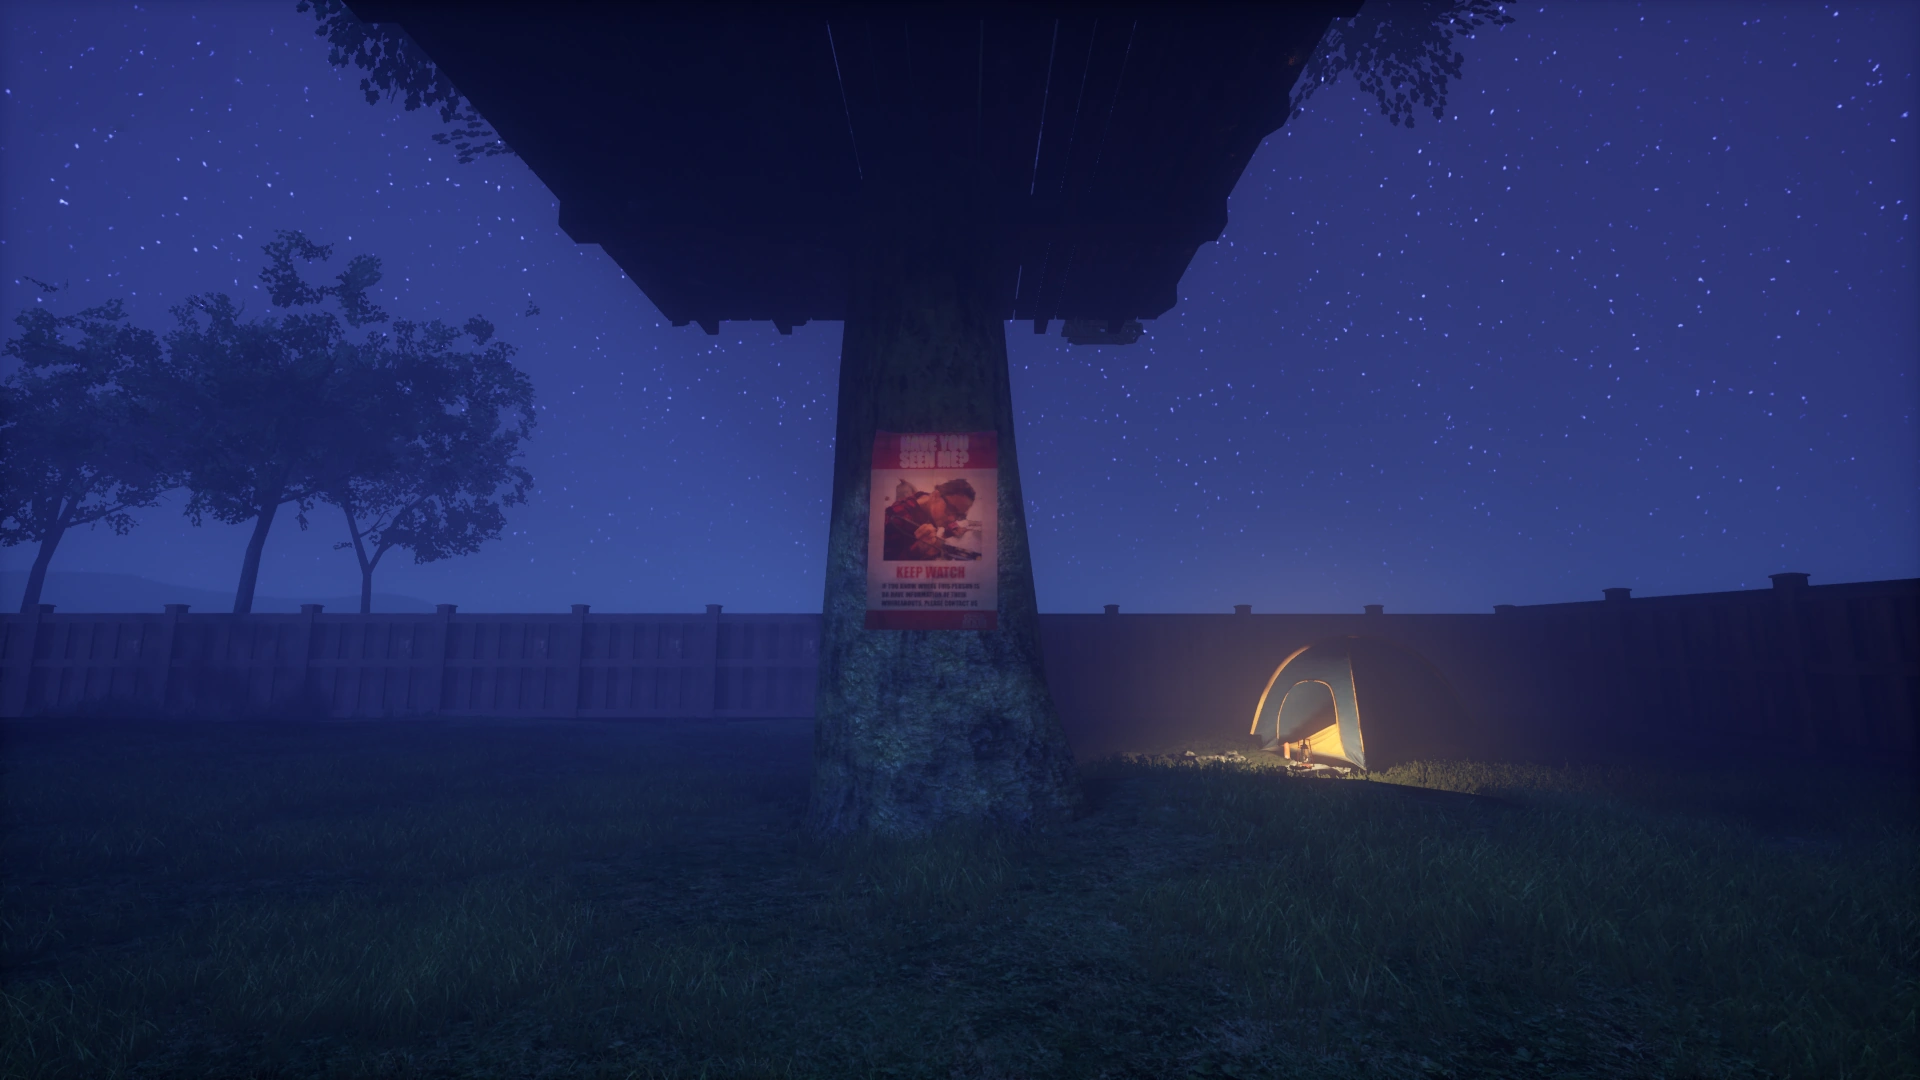
(Common)Backyard — Poster
(Rare)Scaffolding — Duffle Bag
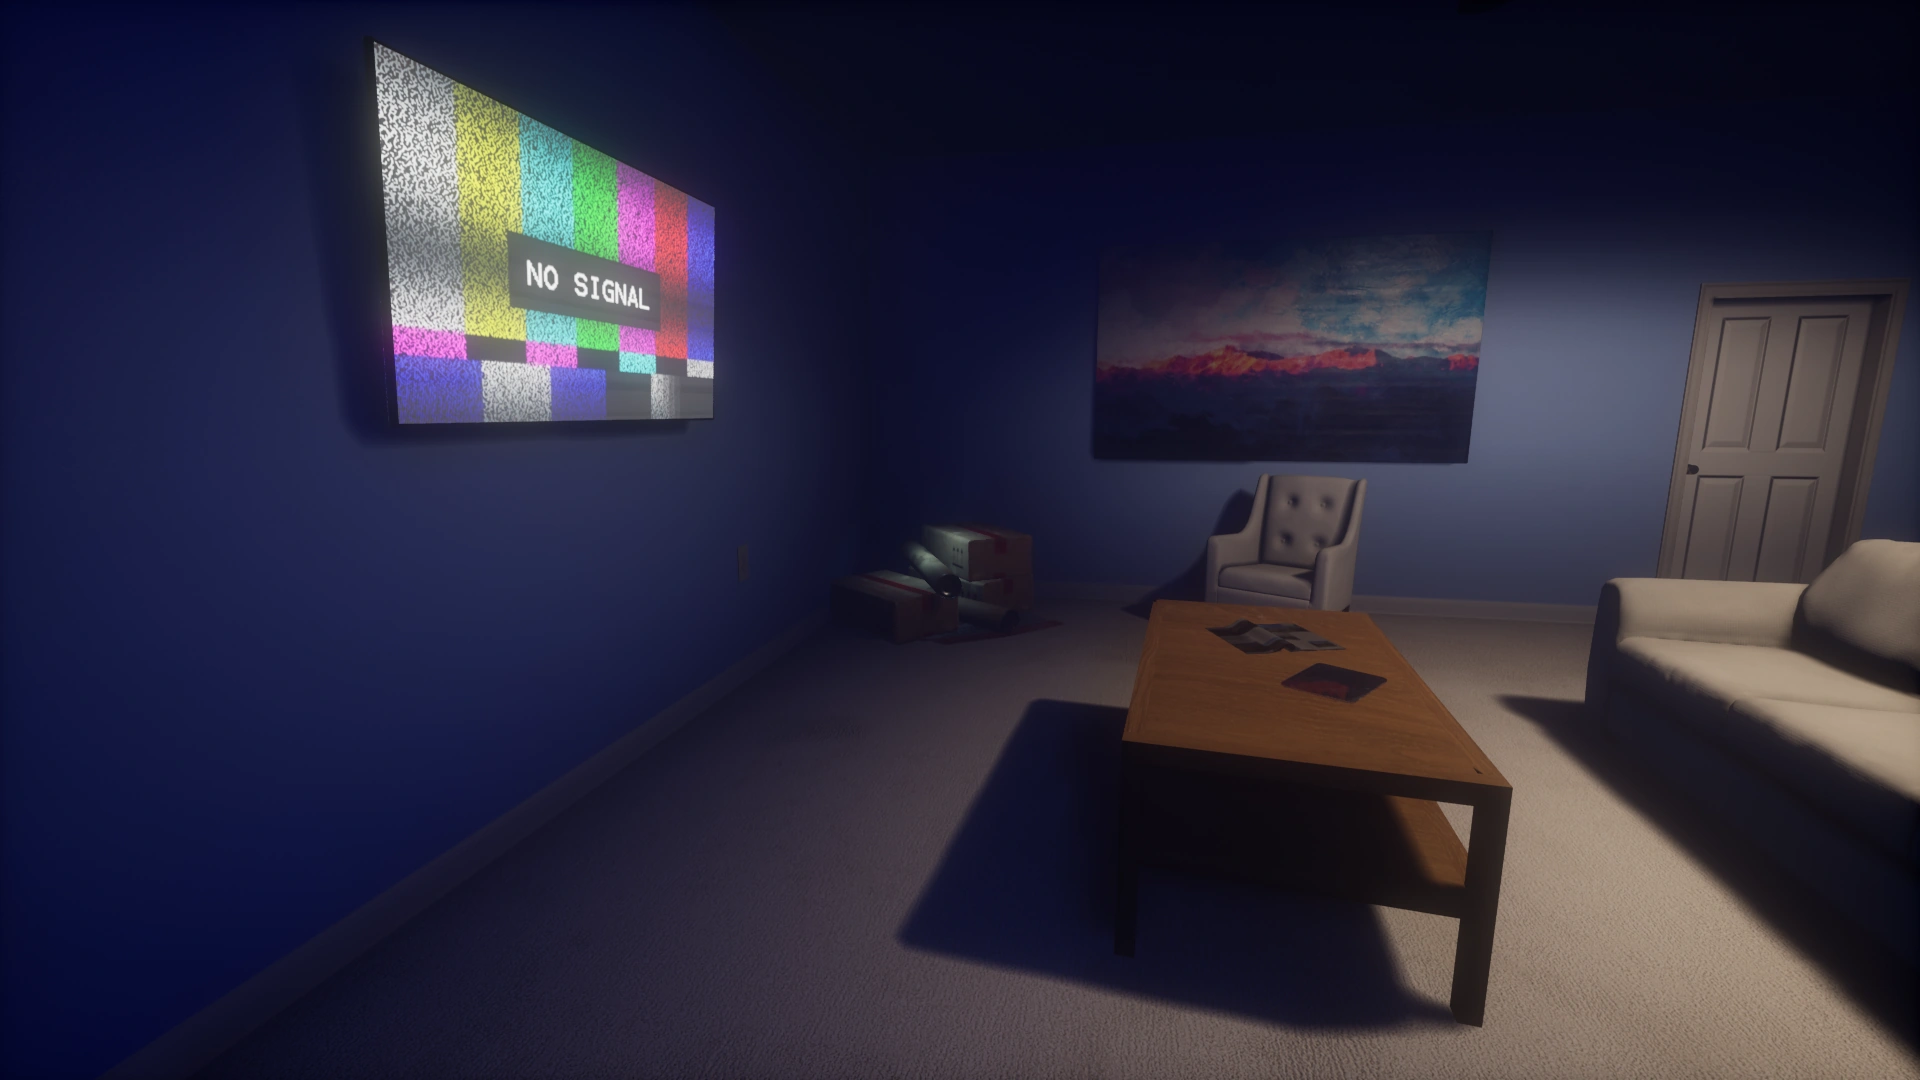
(Rare)Living Room — Boxes and Tubes
(Low Level: Occasional)
(High Level: Rare)Living Room — Laptop
(Rare)Kitchen — Laptop
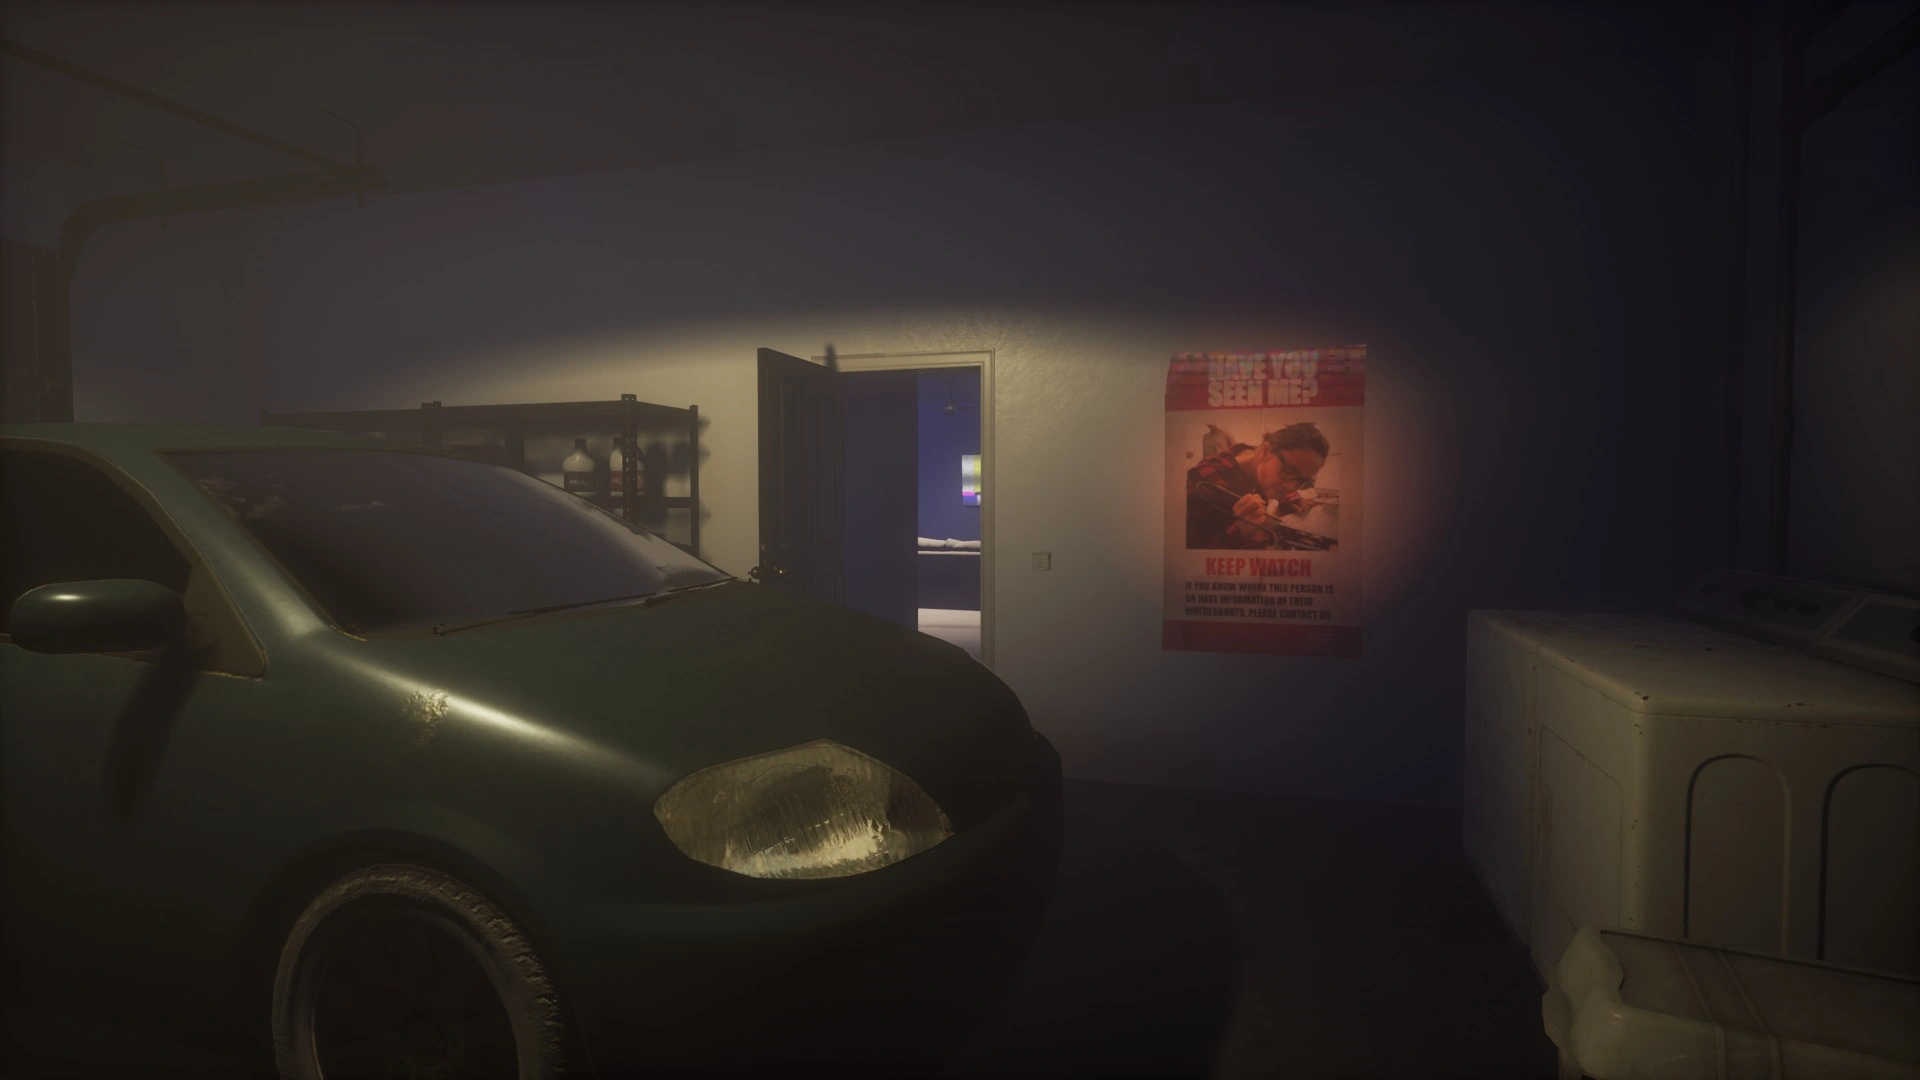
(Rare)Garage — Poster
(Rare)Garage — Briefcase
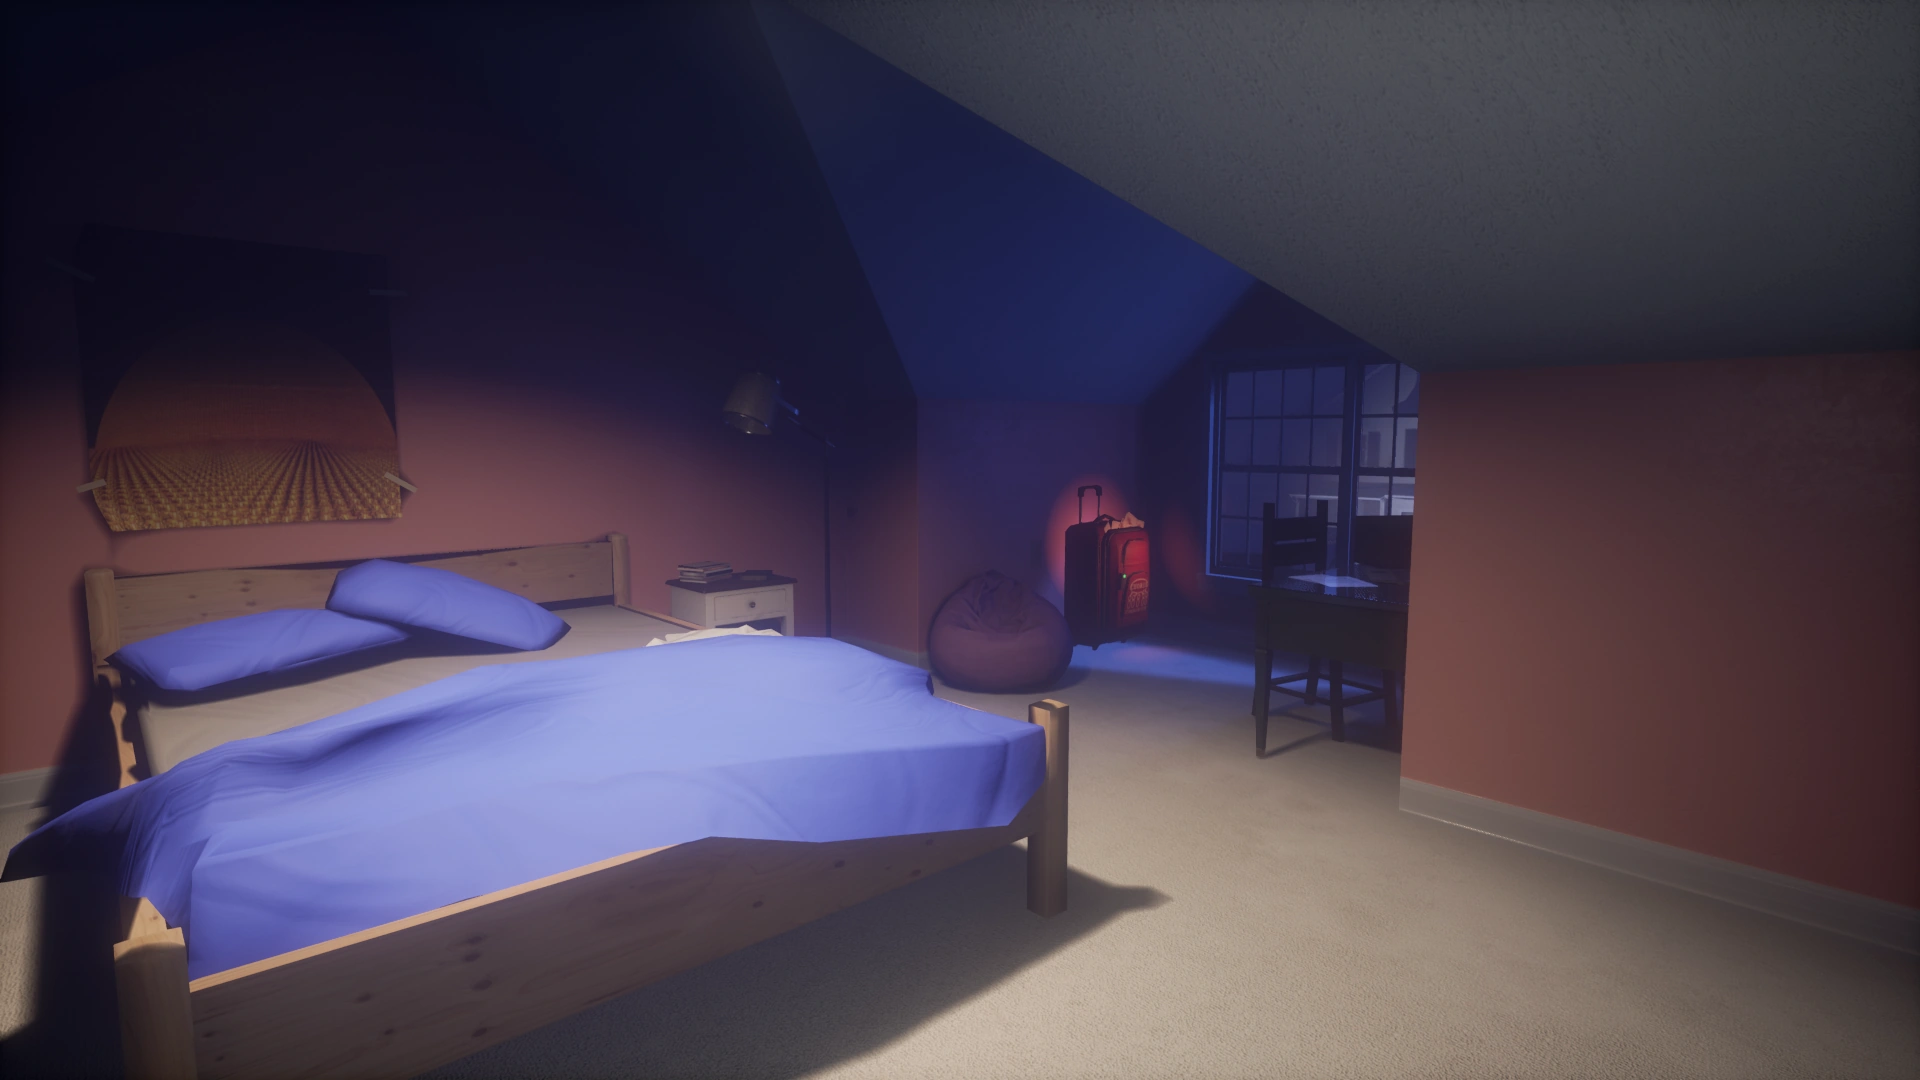
(Rare)Bedroom — Suitcase
(Low Level: Occasional)
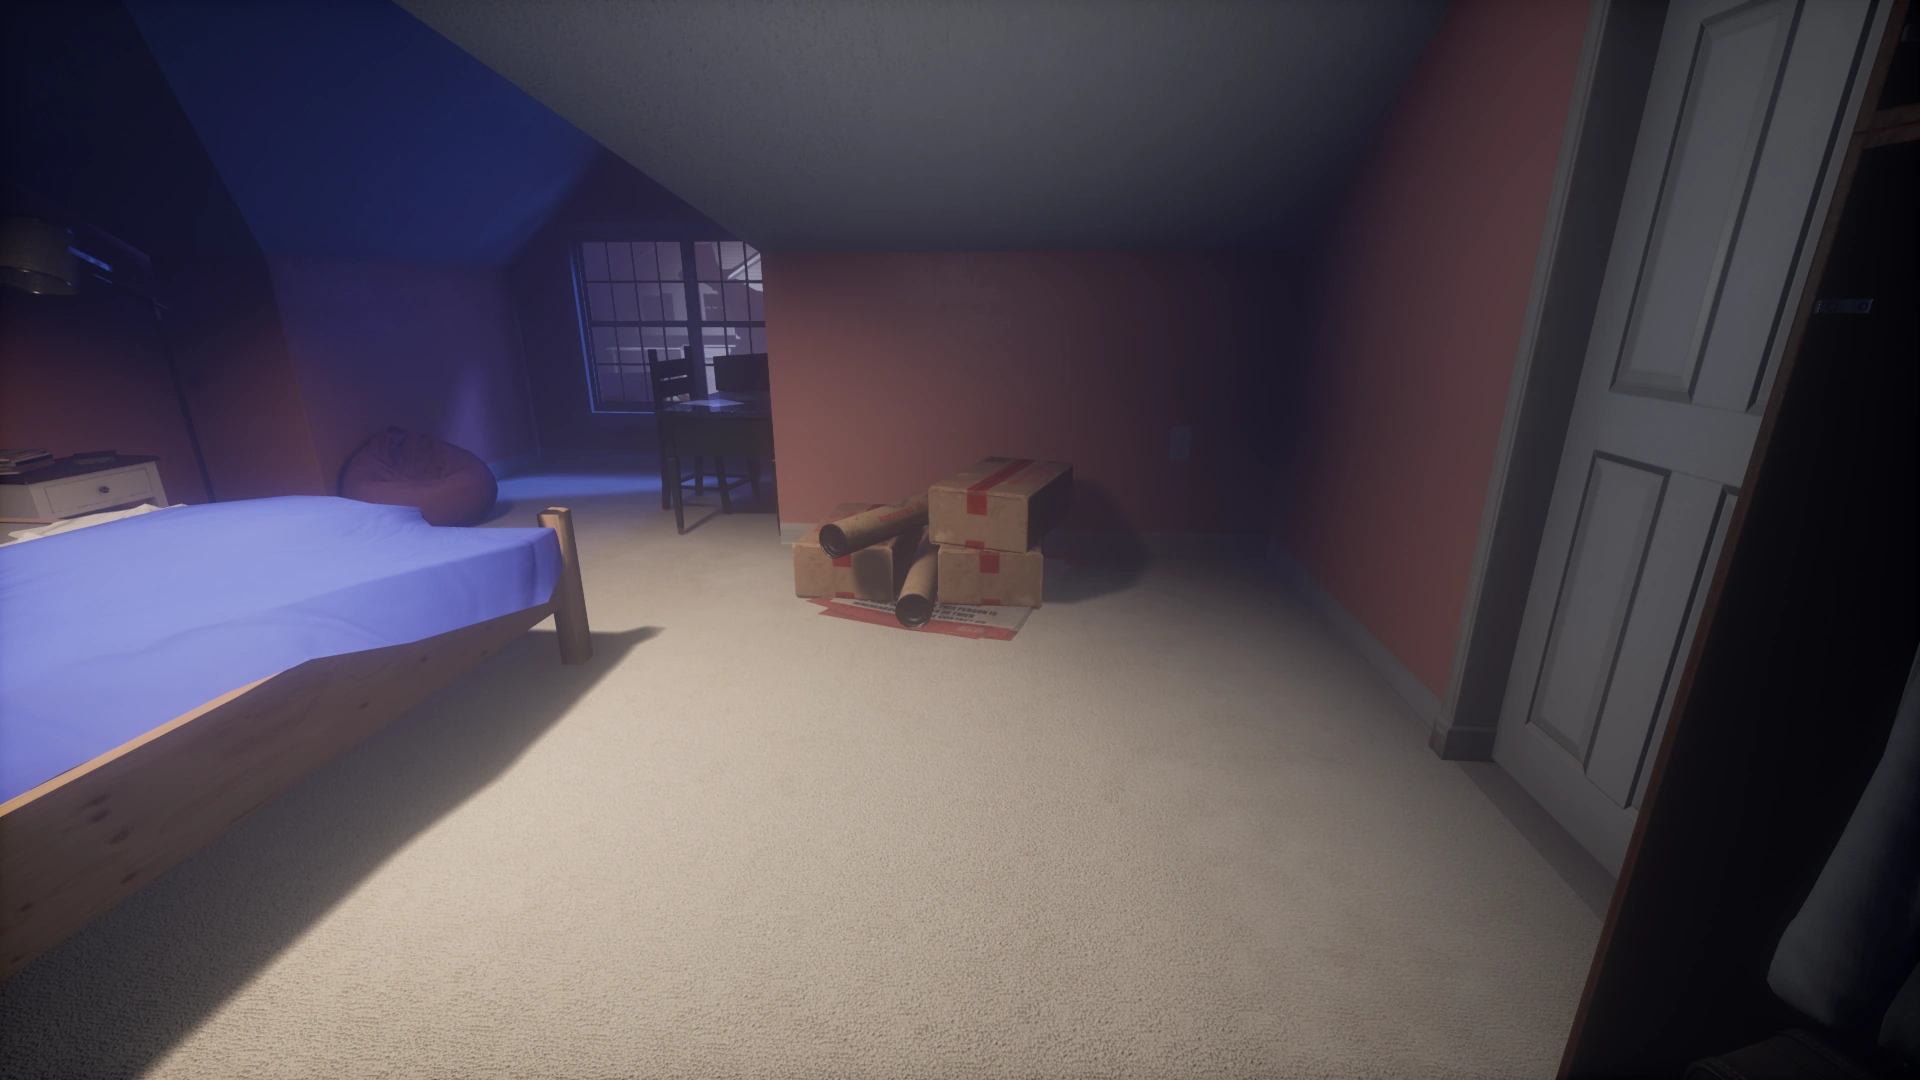
(High Level: Rare)Bedroom — Boxes and Tubes
(Rare)Master Bedroom — Briefcase
(Rare)
920 Hoadly[ | ]
Backyard — Duffle Bag
(Occasional)Backyard — Suitcase
(Low Level: Occasional)
(High Level: Rare)Exterior — Duffle Bag
(Low Level: Occasional)
(High Level: Rare)Side of House — Poster
(Low Level: Occasional)
(High Level: Rare)Living Room — Laptop
(Occasional)Flowery Bedroom — Laptop
(Rare)Office — Laptop
(Rare)


921 Hoadly[ | ]
Exterior — Poster
(Occasional)Exterior — Poster
(Low Level: Occasional)
(High Level: Rare)Bunker — Boxes
(Common)Bunker — Poster
(Rare)Bunker — Duffle Bag
(Occasional)Front Door — Boxes & Tubes
(Rare)Kitchen — Laptop
(Rare)Bedroom Closet — Suitcase
(Rare)Bedroom — Laptop
(Occasional)Back Bedroom — Briefcase
(Rare)


922 Hoadly[ | ]
Backyard — Poster
(Rare)Backyard — Poster
(Rare)Backyard — Laptop
(Low Level: Occasional)
(High Level: Rare)Backyard — Duffle Bag
(Occasional)Living Room — Briefcase
(Occasional)Living Room — Laptop
(Occasional)Kitchen — Laptop
(Occasional)Kitchen Pantry — Poster
(Rare)Sculptor Bedroom — Briefcase
(Occasional)Master Bedroom — Suitcase
(Rare)

Lower West Hoadly[ | ]
Lower West Hoadly - General[ | ]
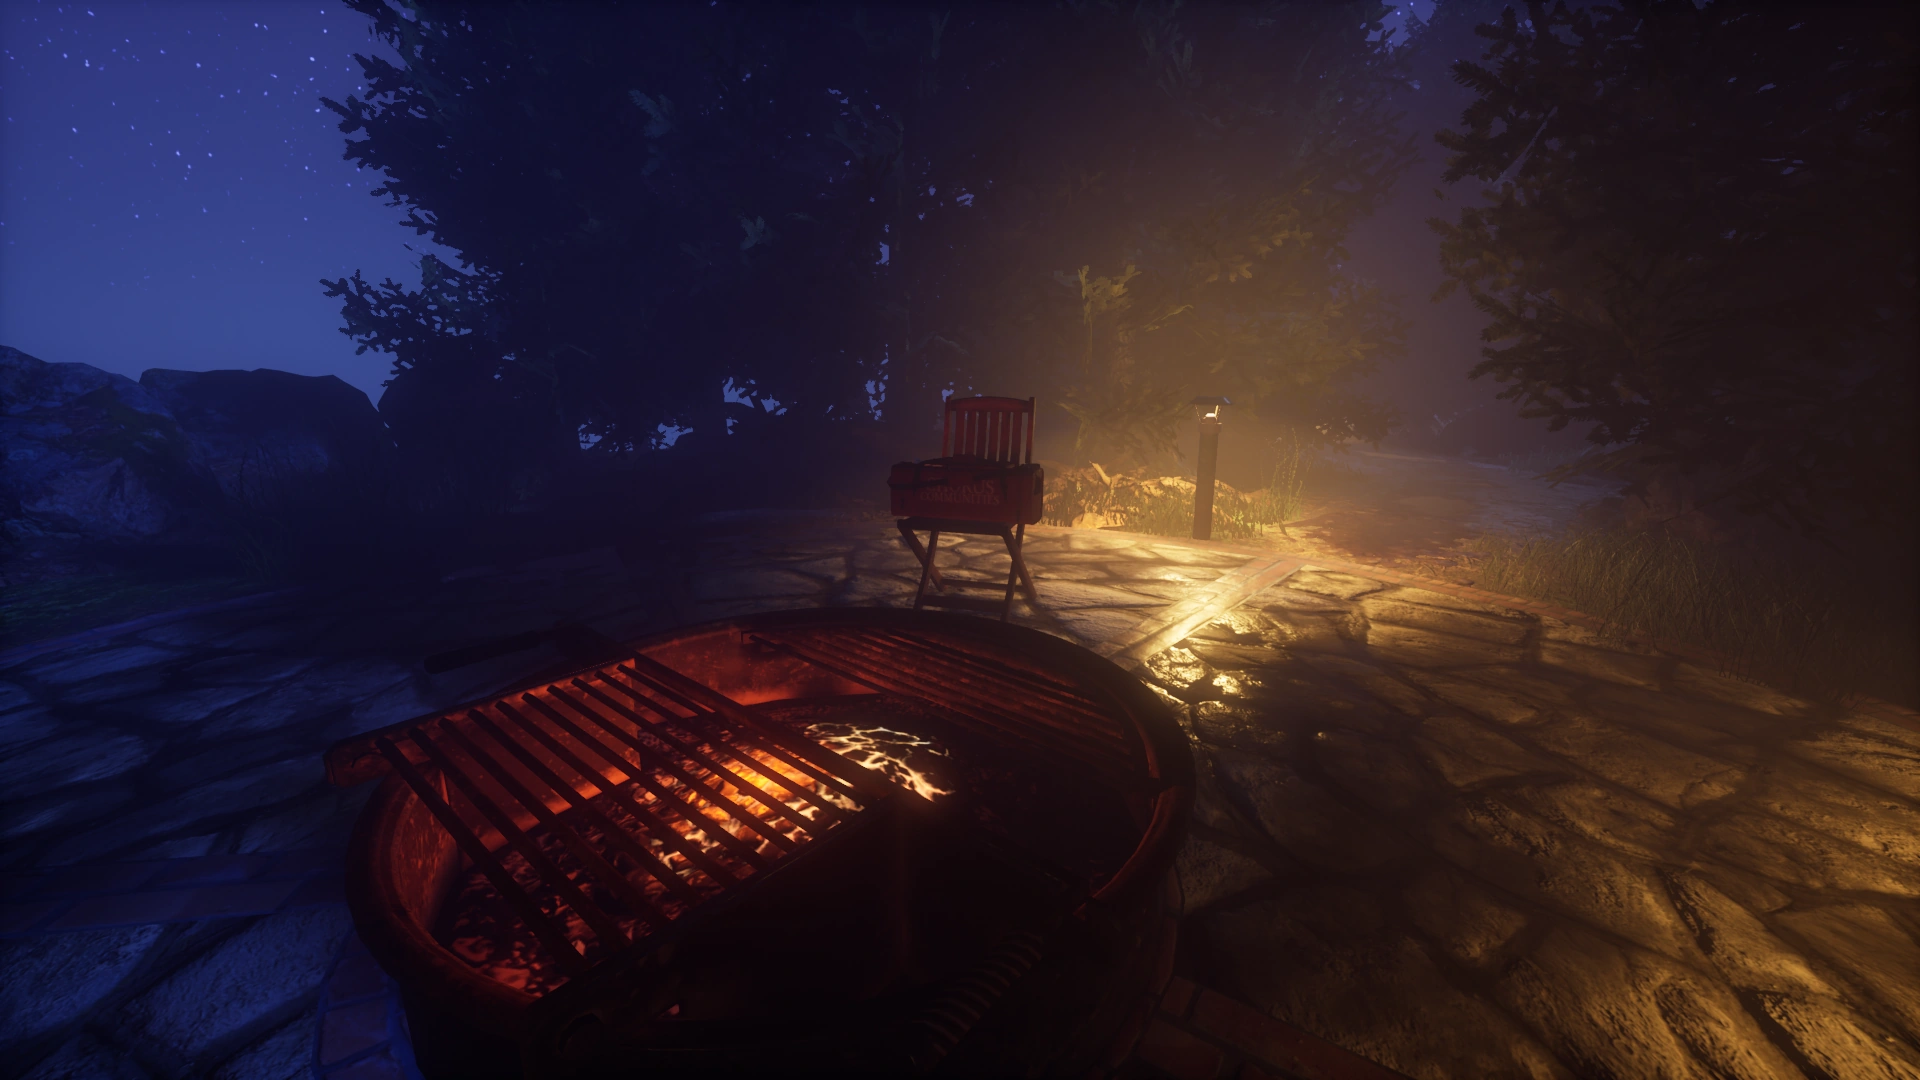
Fire Pit — Duffle Bag
(Common)
1001 Hoadly[ | ]
Exterior — Poster
(Rare)Living Room — Laptop
(Occasional)Kitchen #1 — Laptop
(Occasional)Kitchen #2 — Laptop
(Common)Bedroom — Suitcase
(Occasional)Office — Laptop
(Occasional)


1003 Hoadly[ | ]
Exterior near 1005 Hoadly — Poster
(Rare)Exterior near 1001 Hoadly — Duffle Bag
(Rare)Exterior behind house — Duffle Bag
(Rare)Kitchen — Suitcase
(Rare)Kitchen — Laptop
(Rare)Dining Room — Laptop
(Rare)Bedroom — Laptop
(Rare)Bathroom — Suitcase
(Rare)


1005 Hoadly[ | ]
Exterior — Poster
(Rare)Exterior (Back Porch) — Duffle
(Common)Living Room — Laptop
(Occasional)Back Bedroom with Writing Desk — Laptop
(Rare)Corner Front Bedroom with Dresser — Laptop
(Rare)Bathroom — Laptop
(Occasional)Basement — Poster
(Rare)Basement — Suitcase
(Rare)


Old Growth Daycare Center[ | ]
Classroom A[ | ]
Roof — Duffle Bag
(Rare)Outside Big Bathroom — Duffle Bag
(Occasional)Surveillance Cubby — Duffle Bag
(Occasional)Bathroom — Duffle Bag
(Occasional)Basement — Duffle Bag
(Rare)


The Offices[ | ]
Lobby — Duffle Bag
(Rare)Lobby Counter — Duffle Bag
(Rare)Cul-De-Sac Entryway — Briefcase
(Occasional)Main Office — Briefcase
(Occasional)Main Office — Duffle Bag
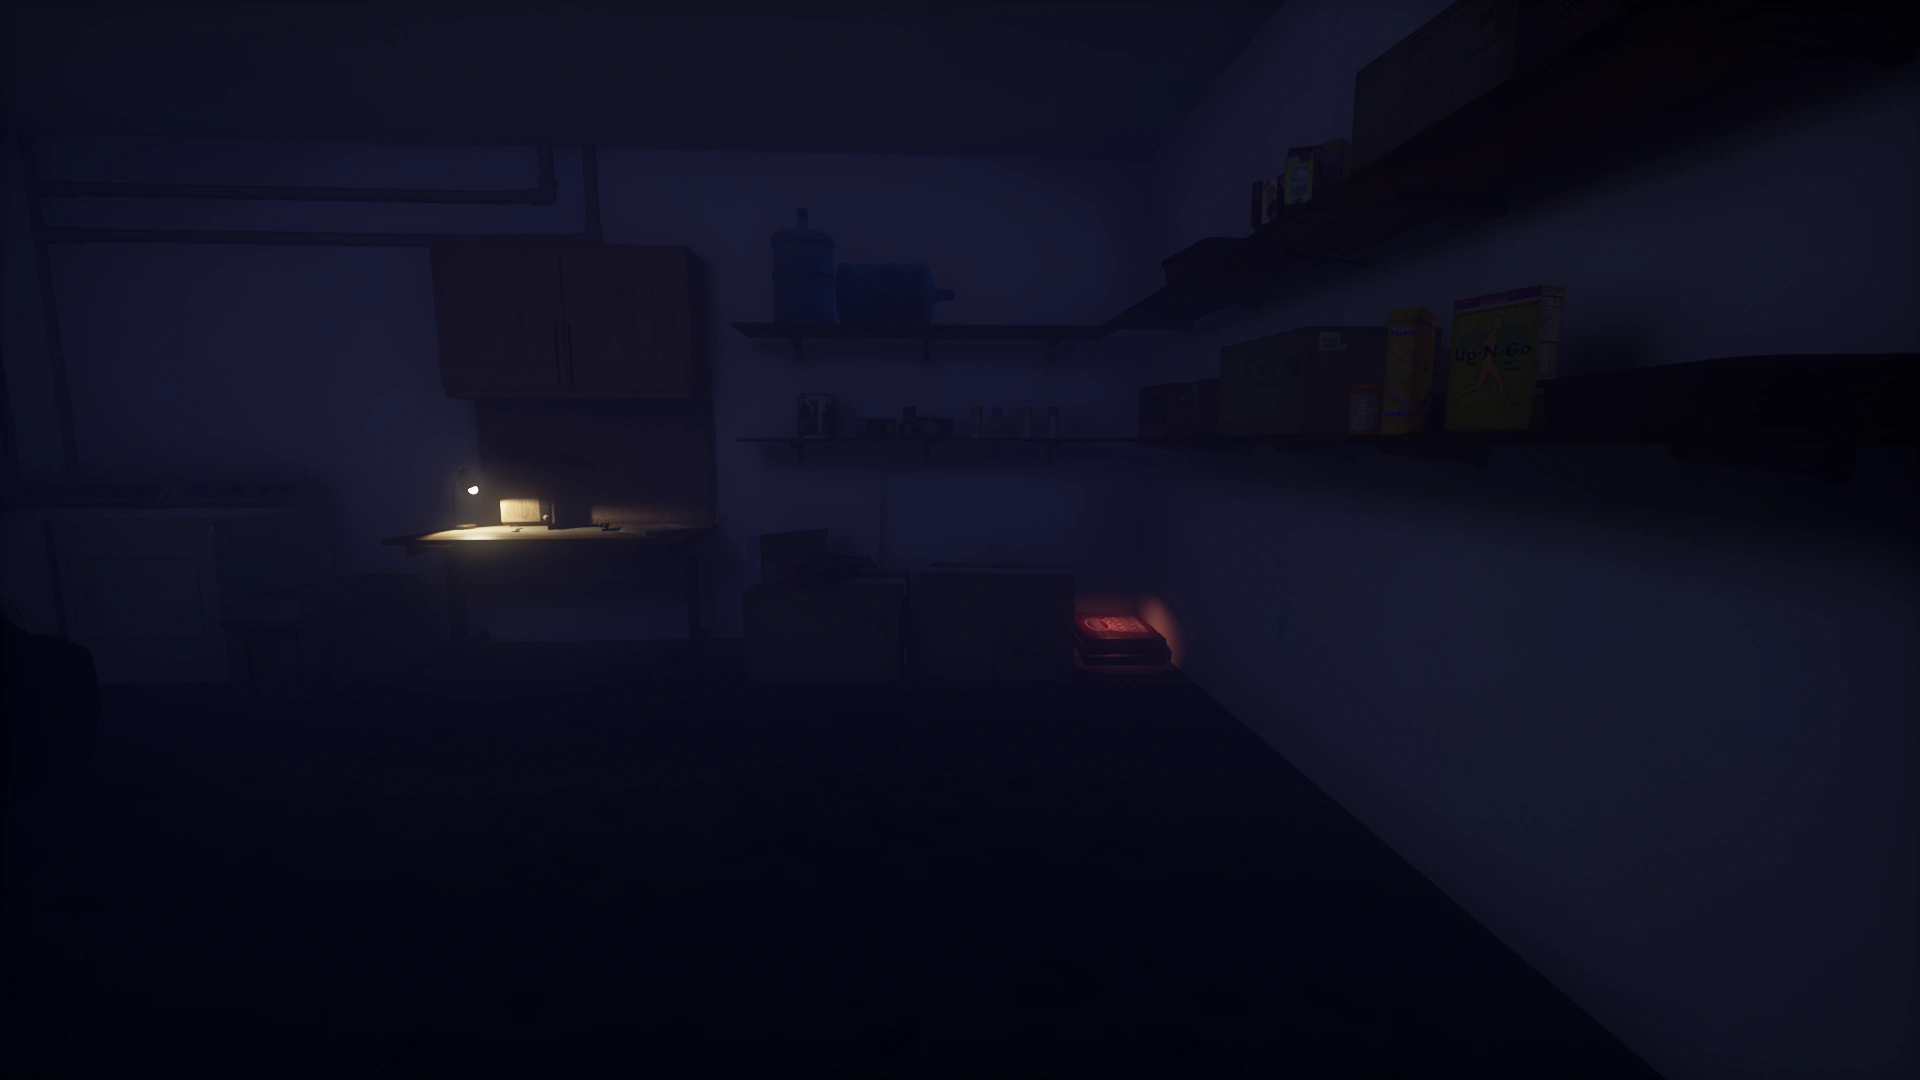
(Rare)Kitchen Shelf — Duffle Bag
(Rare)Counselor's Office — Briefcase
(Rare)Basement Entrance — Duffle Bag
(Rare)Basement Rack — Duffle Bag
(Rare)Basement By Washing Machines — Duffle Bag
(Rare)


Classroom B and Nursery[ | ]
Counter Near Sink — Briefcase
(Occasional)Dividing Wall — Briefcase
(Occasional)Bathroom — Briefcase
(Rare)Attic Access — Briefcase
(Rare)


Sub-Basement[ | ]
Near Red Door — Duffle Bag
(Occasional)

Playground[ | ]
Near Slide — Briefcase
(Occasional)
